

Studio Safety… It’s Mostly About Boring Habits
- Posted on
- 0
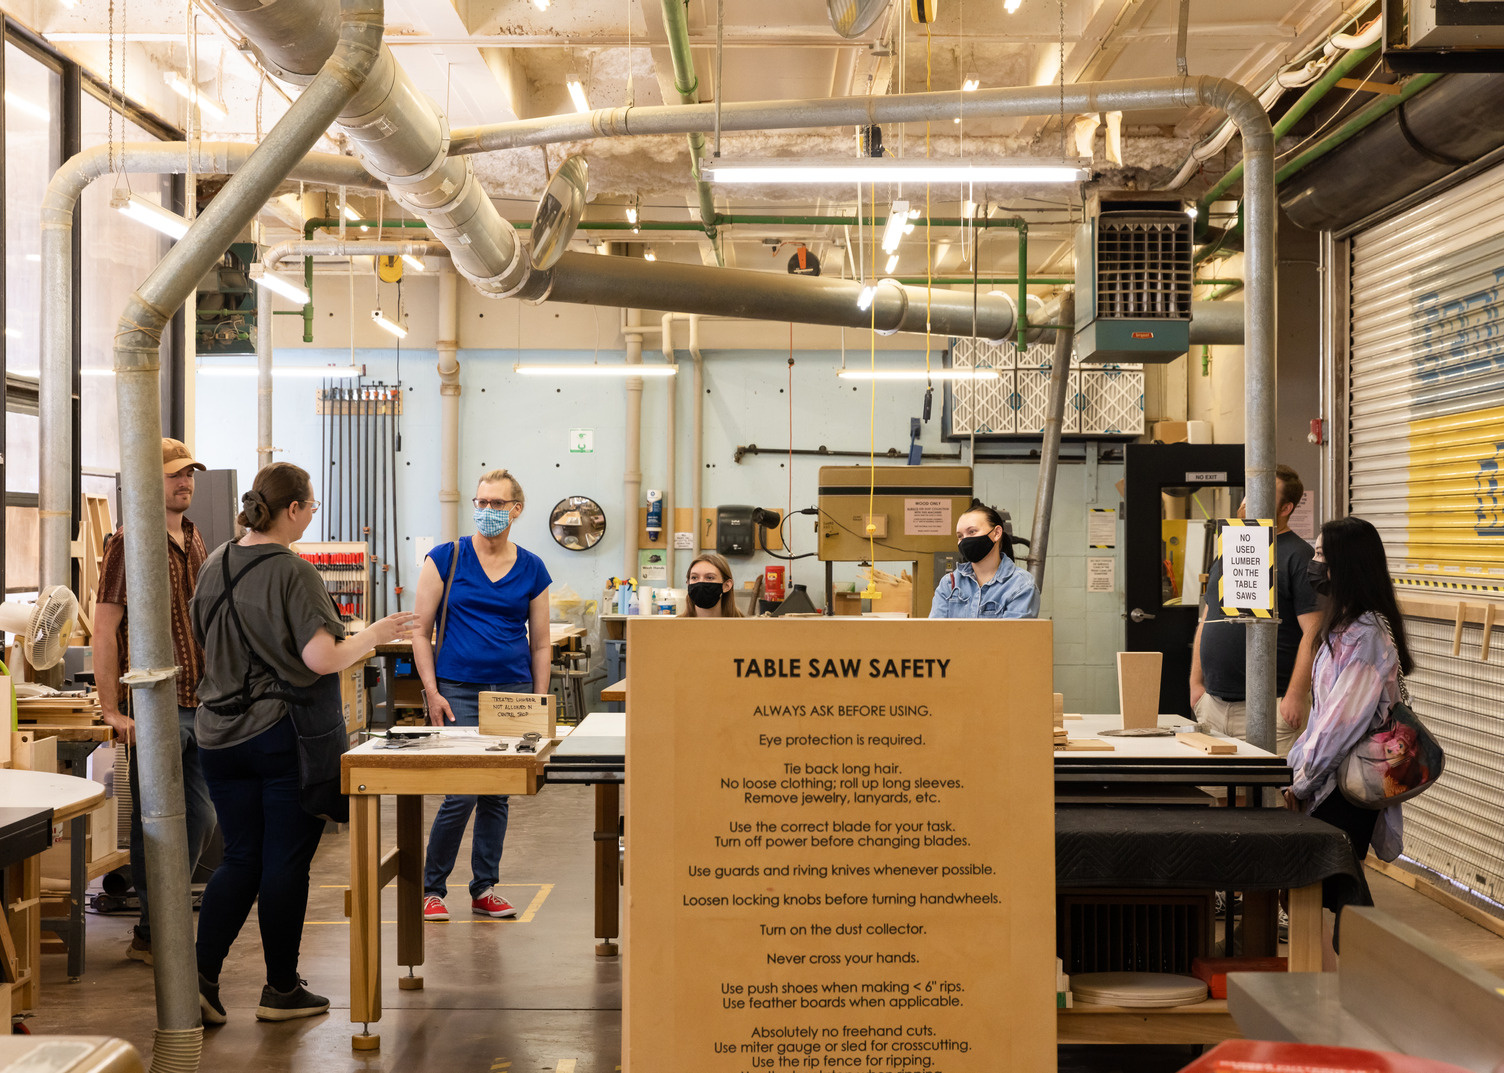
Studio safety can easily become a super scary conversation about equipment: respirators, goggles, gloves, ventilation systems, and warning labels. But studio safety isn't necessarily about using the maximum amount of protective equipment for every task. It's about understanding the hazard and choosing precautions appropriate to the actual risk.
Good safety begins with risk assessment. What is the hazard? How are you being exposed to it? How concentrated is that exposure? How long and how frequently are you working with it? And what is the simplest effective way to reduce the risk?
Consider charcoal. An artist drawing with charcoal for a few hours faces a very different level of exposure from someone manufacturing charcoal eight hours a day. Both should take precautions, but those precautions don't necessarily need to be the same.
Overstating everyday risks can have unintended consequences. If ordinary creative processes are routinely presented as inherently dangerous, artists may become reluctant to try certain materials at all. Understating hazards creates the opposite problem: familiarity encourages artists to ignore risks that accumulate through repeated exposure.
The useful territory lies between those extremes.
Fortunately, much of everyday studio safety isn't dramatic. It consists of small, repetitive habits: washing your hands thoroughly, taking care of your skin, controlling dust, keeping materials out of your mouth, protecting your eyes and ears, dressing appropriately, and knowing when additional protective equipment is warranted.
Safety doesn't need to be intimidating to be effective.
Wash Your Hands Like You Mean It
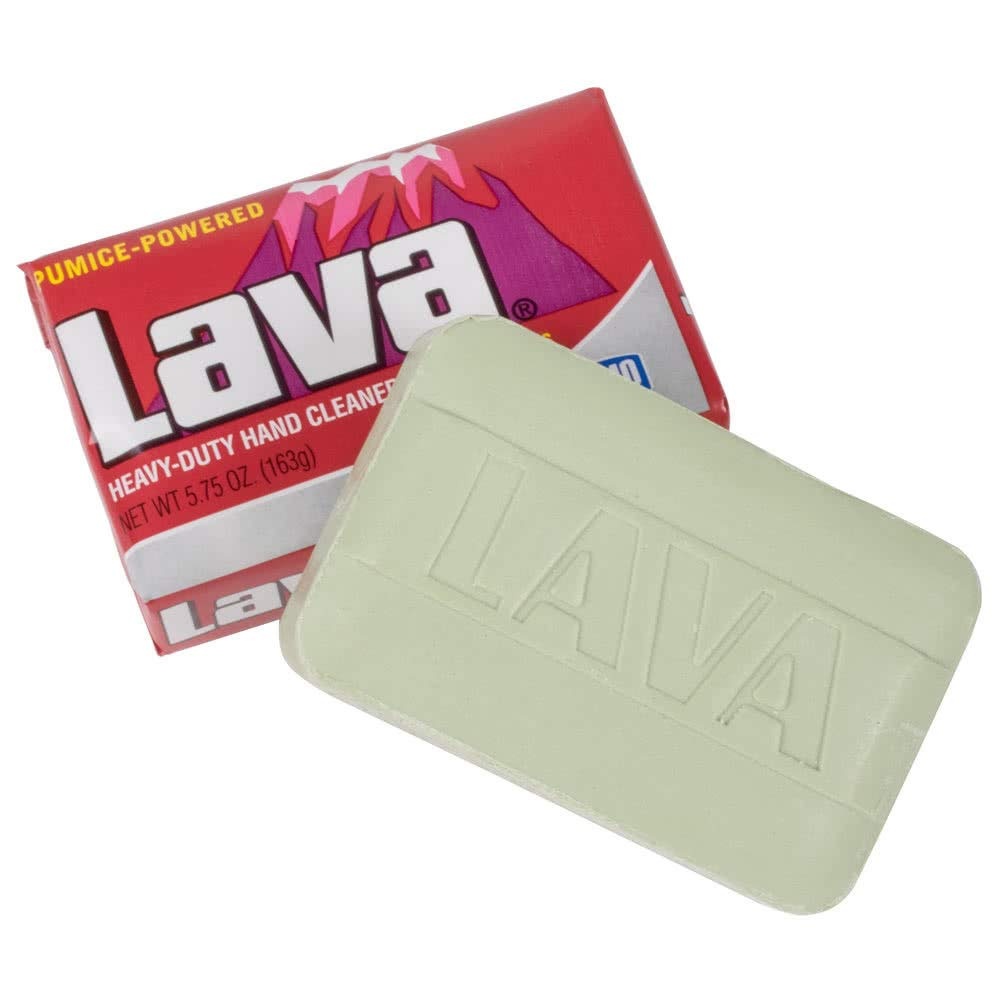
Soap and water are among the most useful safety tools in your studio.
Take the extra time to wash your hands thoroughly. Clean every finger, including your thumbs, and don't forget the webbing between your fingers. If you've been working with particularly dirty or stubborn materials, use a nail brush to clean underneath and around your nails.
Anything left on your hands has a tendency to migrate. Eventually it ends up on your phone, sketchbook, keyboard, coffee mug, lunch, or face.
Good handwashing interrupts that chain.
And don't assume that because something is difficult to wash off, you should reach for a stronger chemical. Avoid cleaning your skin with solvents or other harsh studio chemicals. Your hands are not another piece of studio equipment.
Your Skin Is Protective Equipment
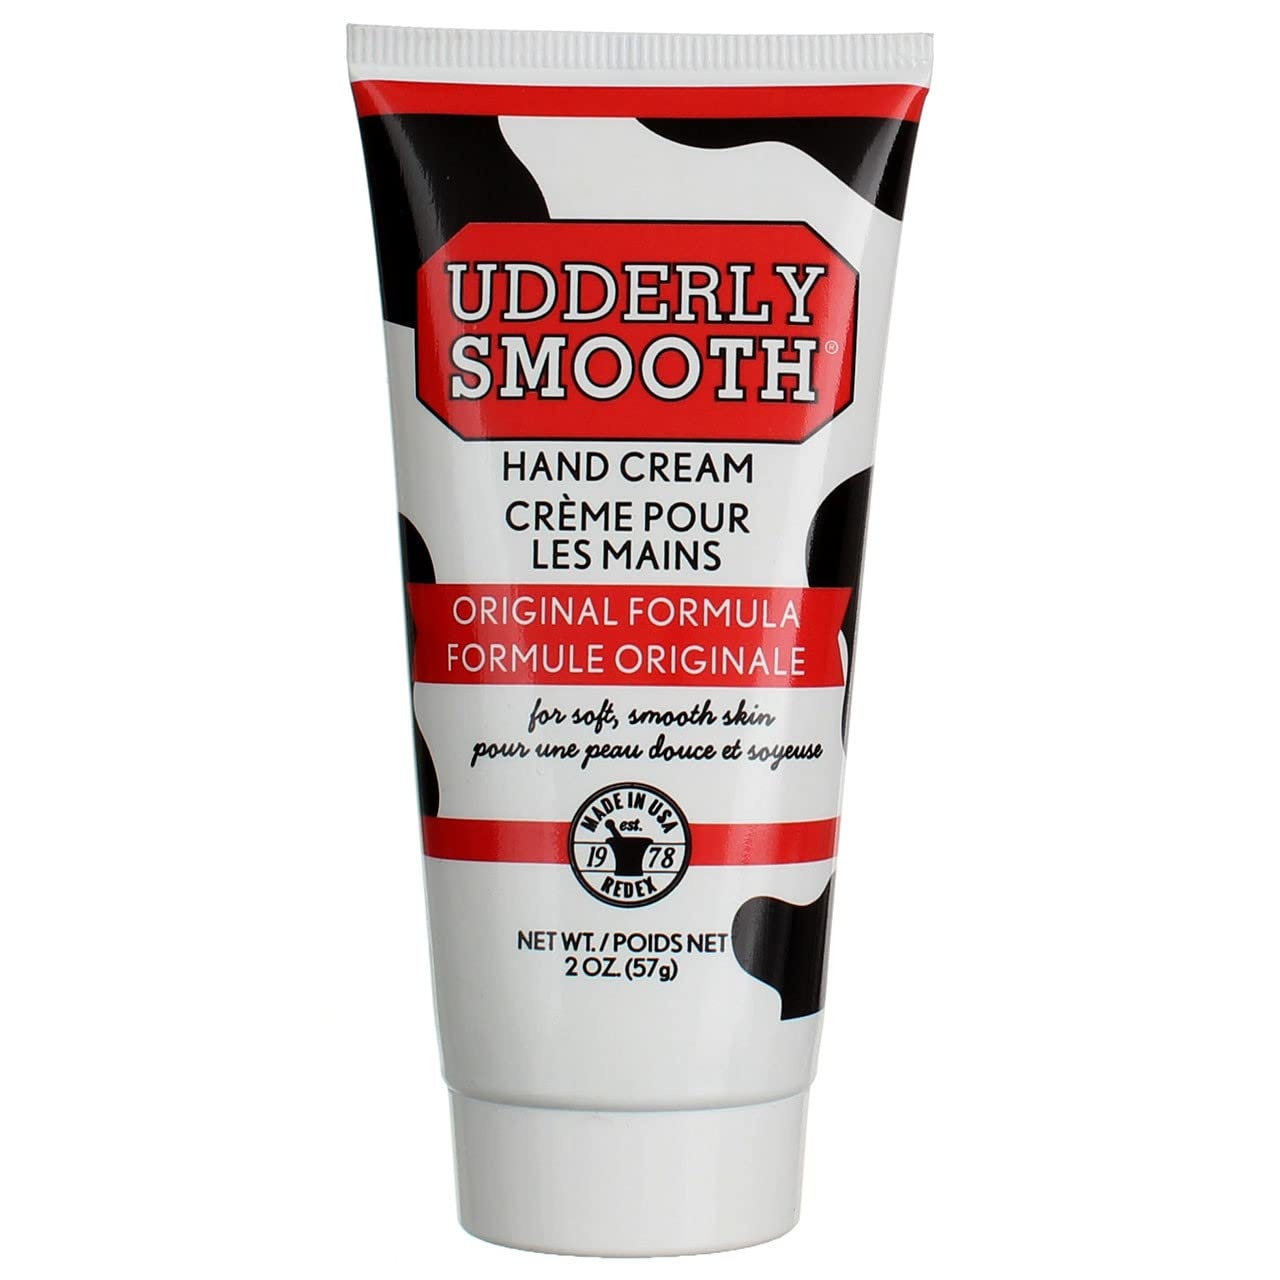
Your skin is already an extraordinarily effective protective barrier, so take care of it.
Frequent handwashing, exposure to dry air, and studio work can leave skin dry and cracked. Those tiny cracks and abrasions aren't merely uncomfortable; damaged skin provides less protection against irritants.
Use a moisturizer or appropriate barrier cream regularly, particularly after washing your hands. Keeping your skin healthy is preventative maintenance.
Artists spend plenty of time cleaning brushes, sharpening tools, oiling equipment, and maintaining machinery. Your hands deserve at least as much attention as the things they operate.
Gloves Are a Tool, Not a Shortcut
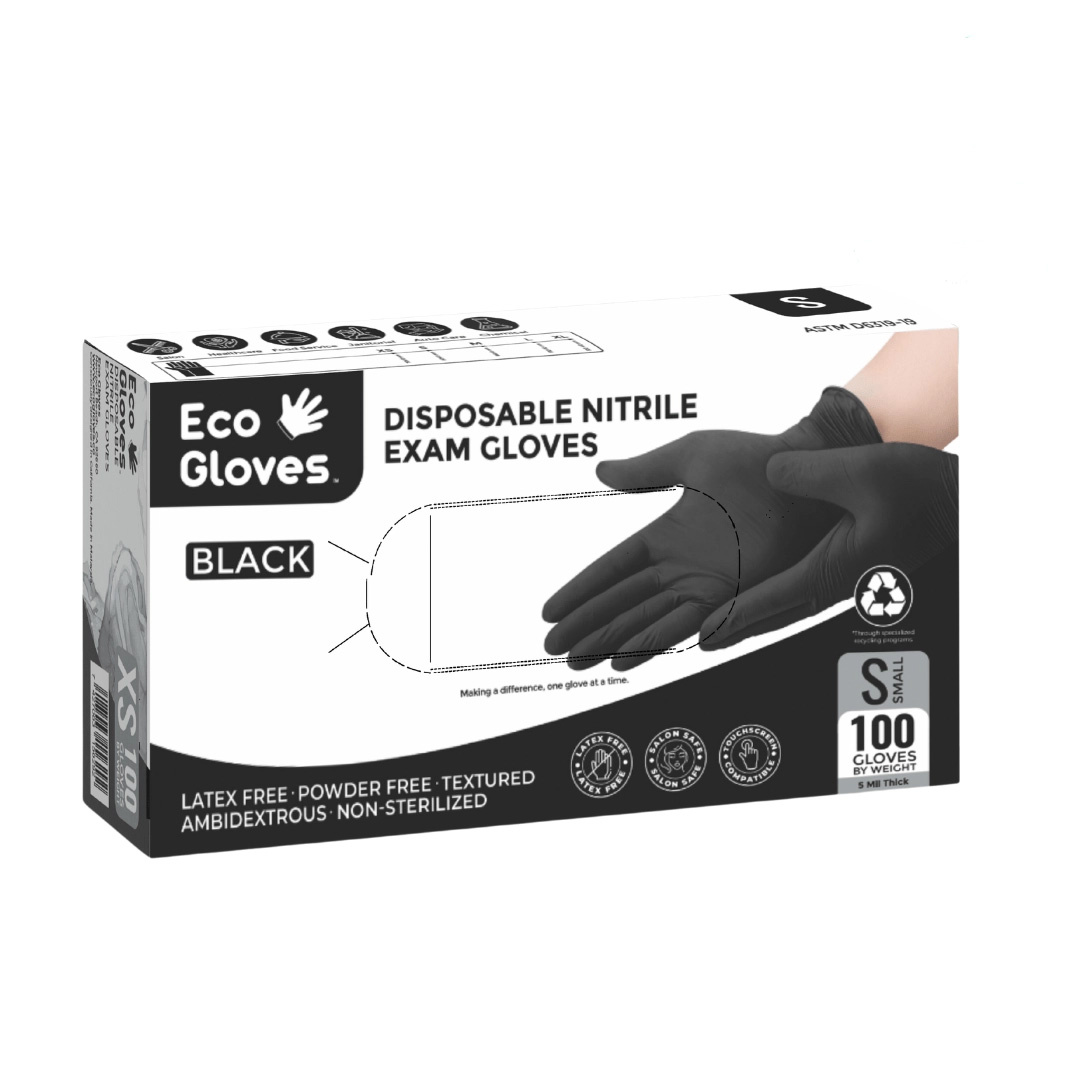
Wear appropriate gloves when you're handling something you don't want on your skin. The appropriate glove depends on what you're working with; no single glove material protects against everything.
But gloves aren't magic. And wearing them doesn't get you out of washing your hands.
They can spread contamination just as effectively as bare hands. If you handle a chemical while wearing gloves and then pick up your phone, open a door, or adjust your glasses, you've potentially transferred that material to those surfaces.
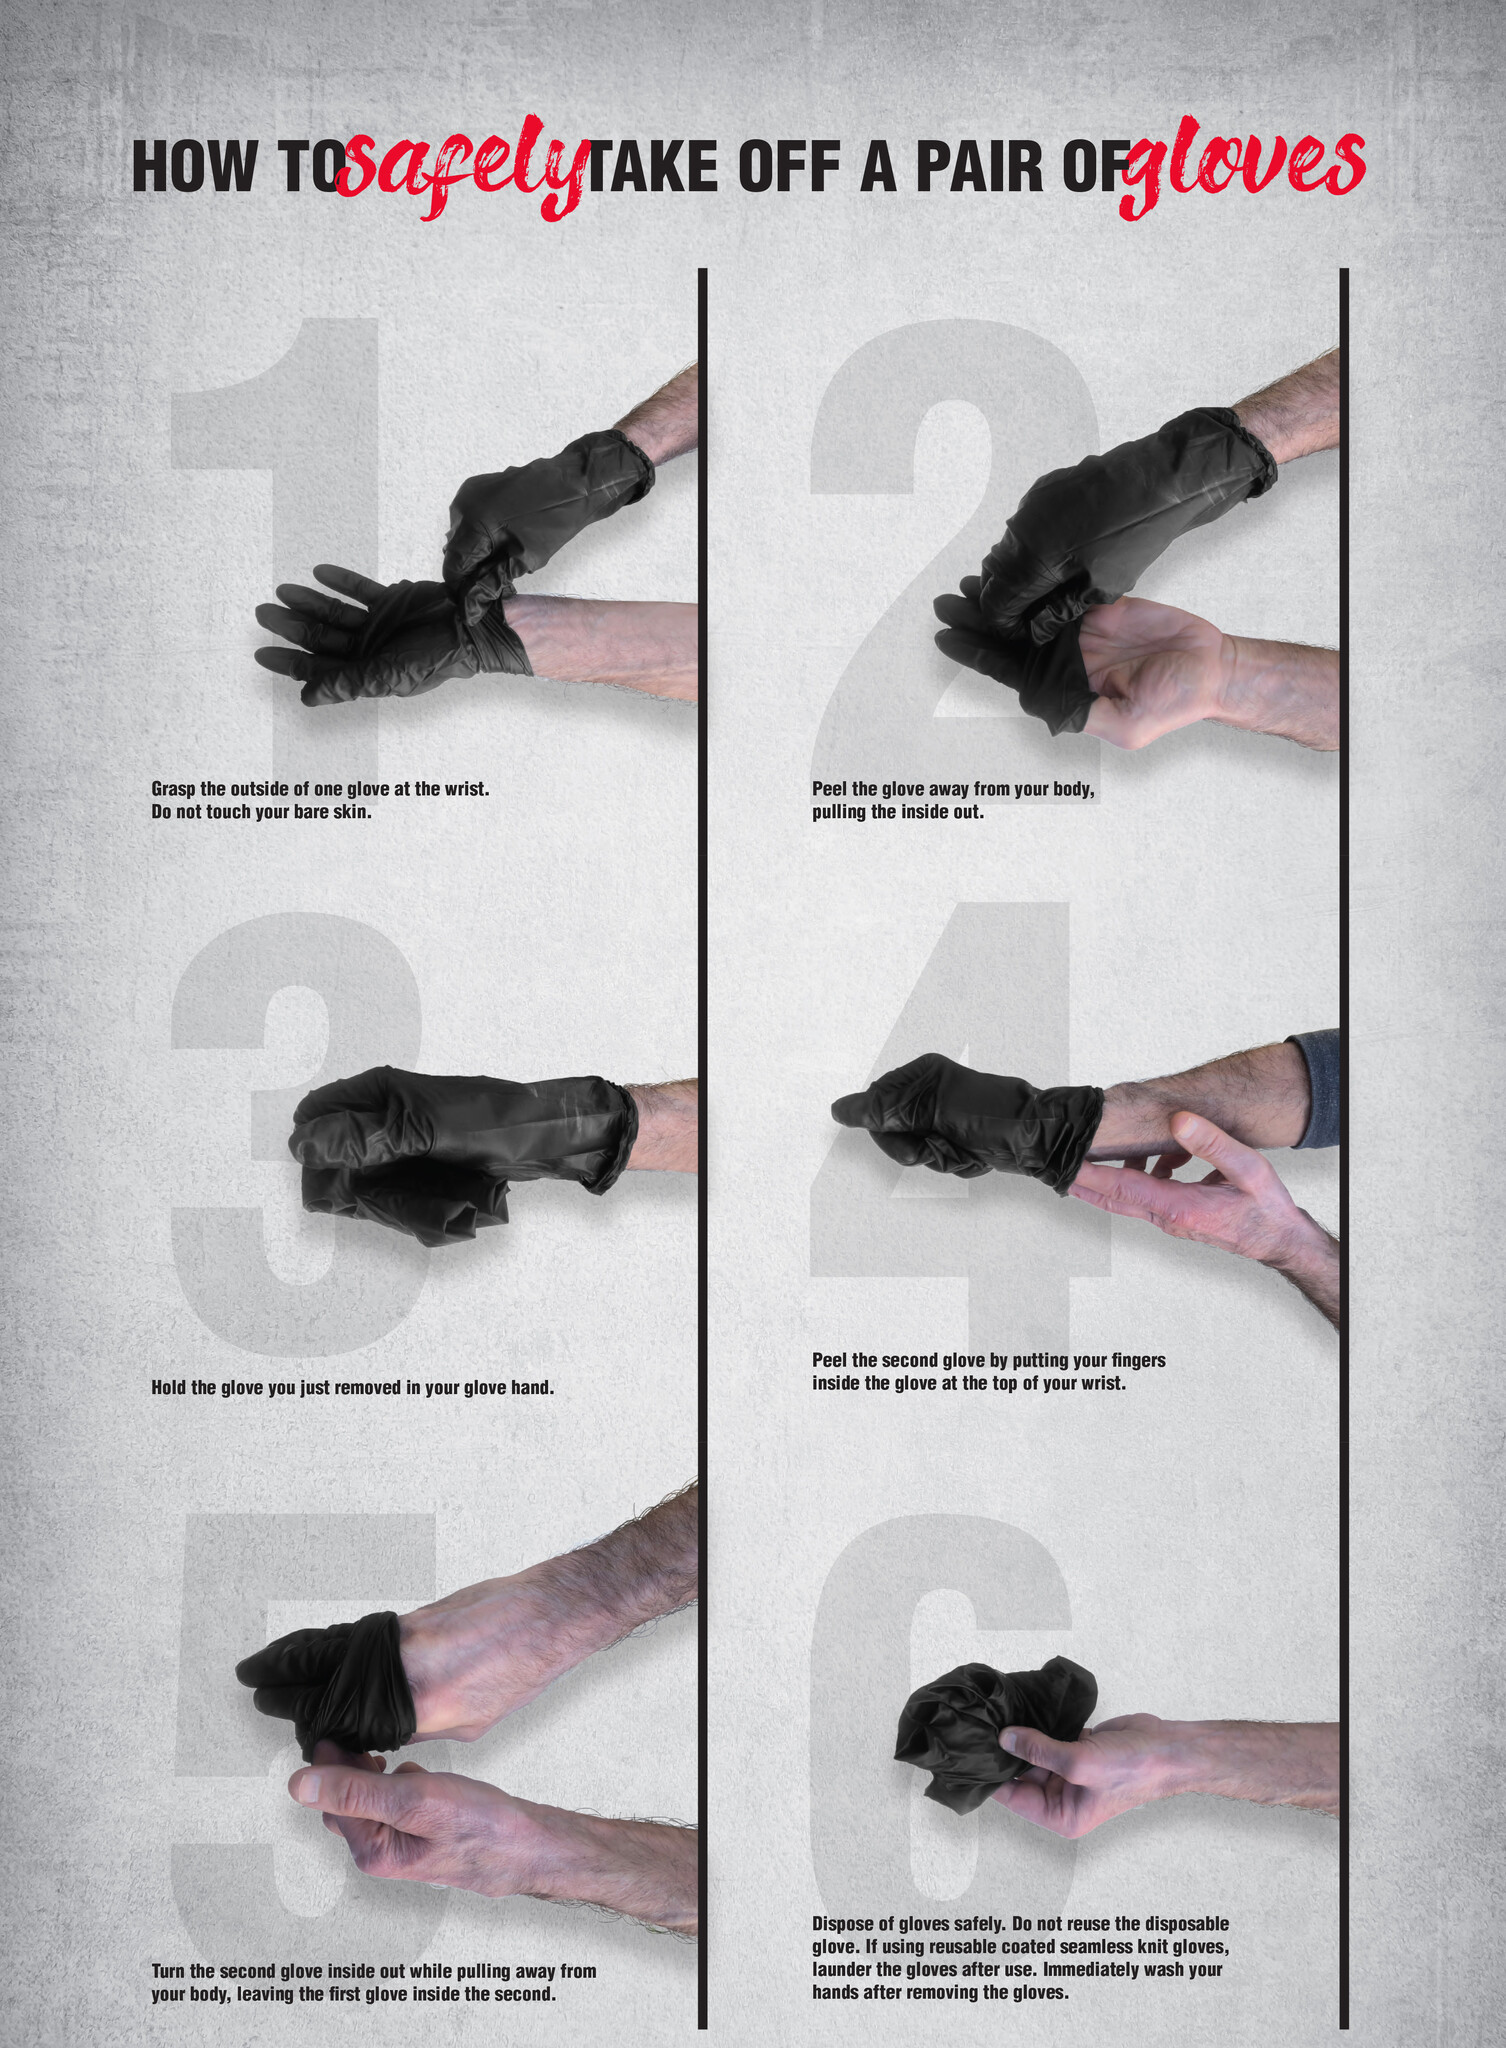
Learn how to remove gloves without touching the contaminated exterior, wash your hands afterward, and continue taking care of your skin.
Breathe Better
Many studio processes produce dust, fumes, or vapors. The appropriate response depends on what you're working with.
For dust, one of the easiest interventions is simply preventing it from becoming airborne in the first place. Don't blow charcoal, pastel, pigment, or sanding dust off your work. Clean dusty surfaces appropriately rather than sweeping particles back into the air.
Humidity can also work in your favor. In a moderately humid environment, airborne particles can take on moisture, become heavier, and settle more readily instead of remaining suspended. Humidity isn't a substitute for appropriate ventilation, dust collection, or respiratory protection, but environmental conditions can be part of sensible dust management.
Ventilation matters too, particularly when dealing with fumes and vapors. Work outside when the material and process allow it, or use appropriate local exhaust ventilation. Simply moving air around a room isn't necessarily the same thing as removing a contaminant from it.
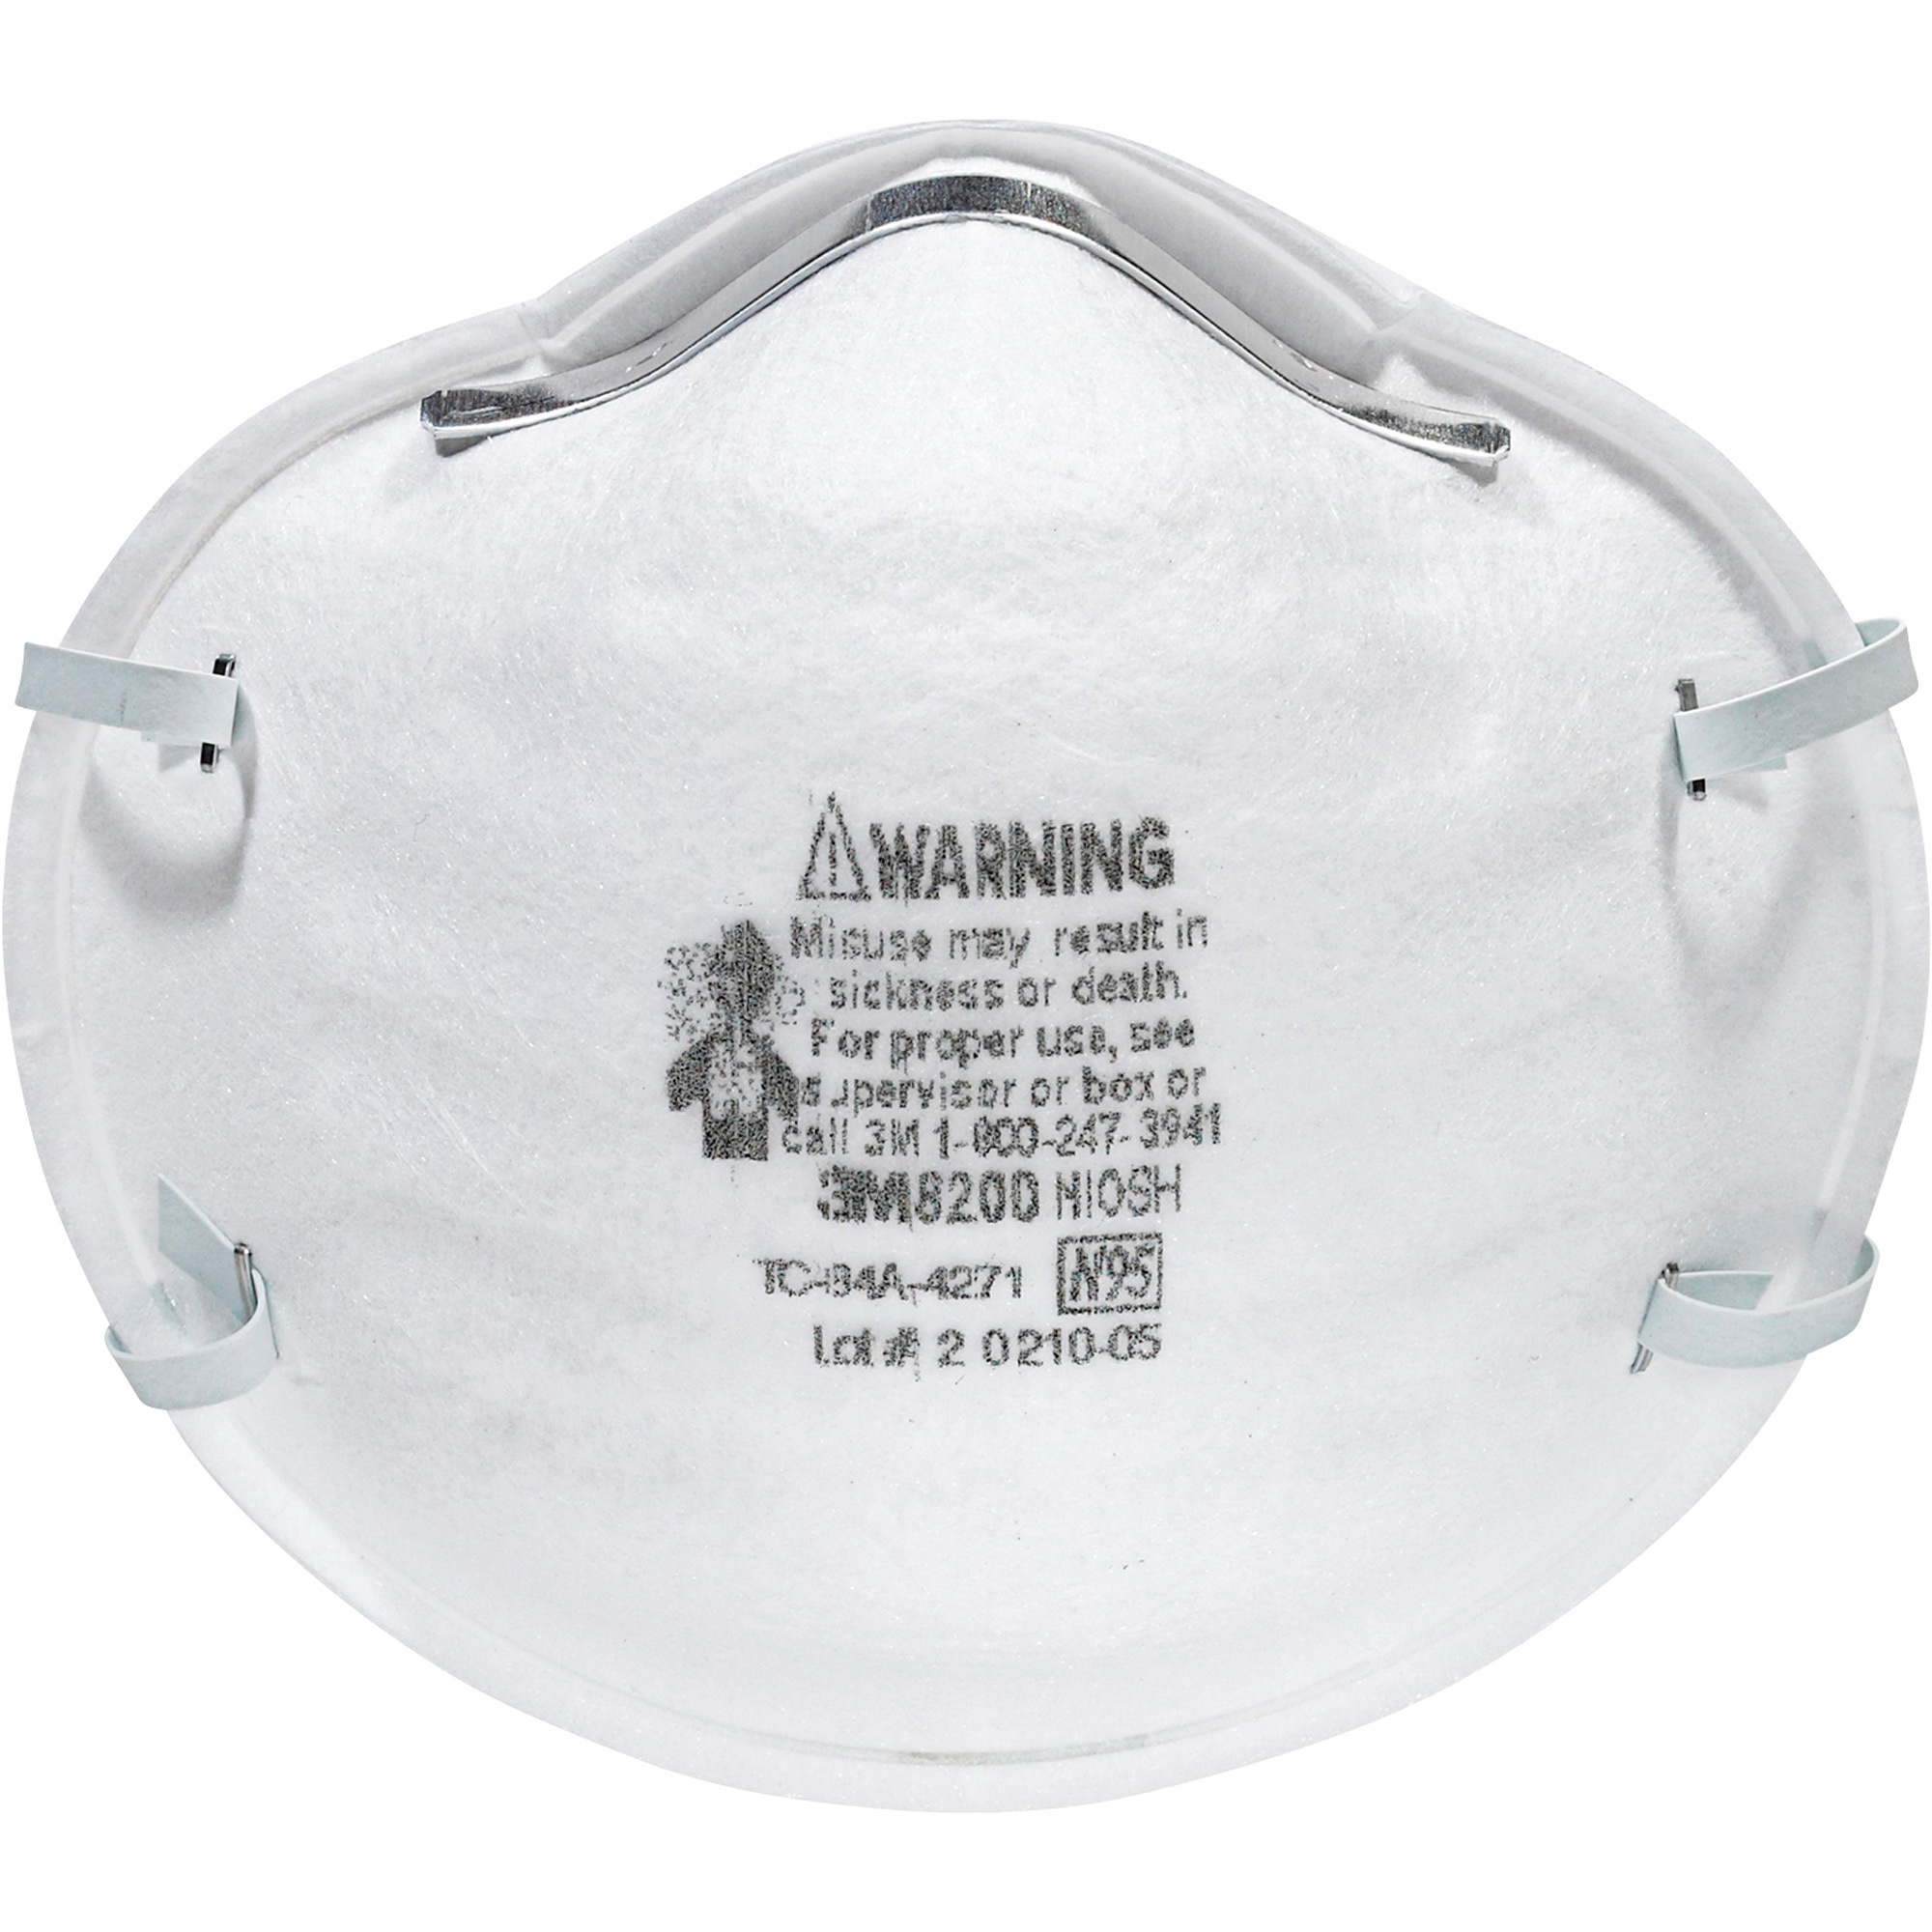
For particulate hazards, an N95 or other appropriate particulate respirator may be sufficient depending on the material and level of exposure. More hazardous materials, vapors, or prolonged exposures may require a properly fitted reusable respirator with cartridges specifically designed for that hazard.
This is where proportionality matters. Drawing with charcoal occasionally and working around airborne particulate matter eight hours a day are not equivalent exposures.
If you do use a reusable respirator, take care of it. Follow the manufacturer's cleaning instructions, clean the facepiece regularly, and allow it to dry completely before storage. Keep cartridges or filters in an airtight container or sealed bag when the manufacturer recommends it. Some cartridges continue adsorbing contaminants from the surrounding air even while the respirator is sitting on a shelf, which can shorten their useful life.
A respirator that doesn't fit, isn't maintained, or has the wrong cartridge can create a reassuring feeling without providing the protection you think it does.
Don't Forget Your Ears
We tend to think about studio hazards in terms of what we can see or smell, but noise is exposure too.
Power tools, compressors, shop vacuums, machinery, and other equipment can damage hearing gradually. You don't necessarily notice it happening, and once that hearing is gone, you don't get it back.
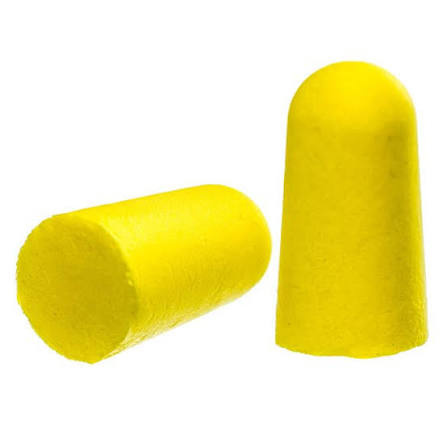
Wear appropriate earplugs or earmuffs when you're working around sustained or high levels of noise.
Dust management matters here too. Fine particles have a remarkable ability to work their way everywhere, including into your ears. Hearing protection can provide some physical protection in very dusty environments, but the better solution is still controlling the dust itself.
Protect Your Eyes
Your eyes are remarkably resilient, but they are also one of the most vulnerable parts of your body. Unlike a small cut on your hand, an eye injury can have permanent consequences, so it's worth taking a few simple precautions.
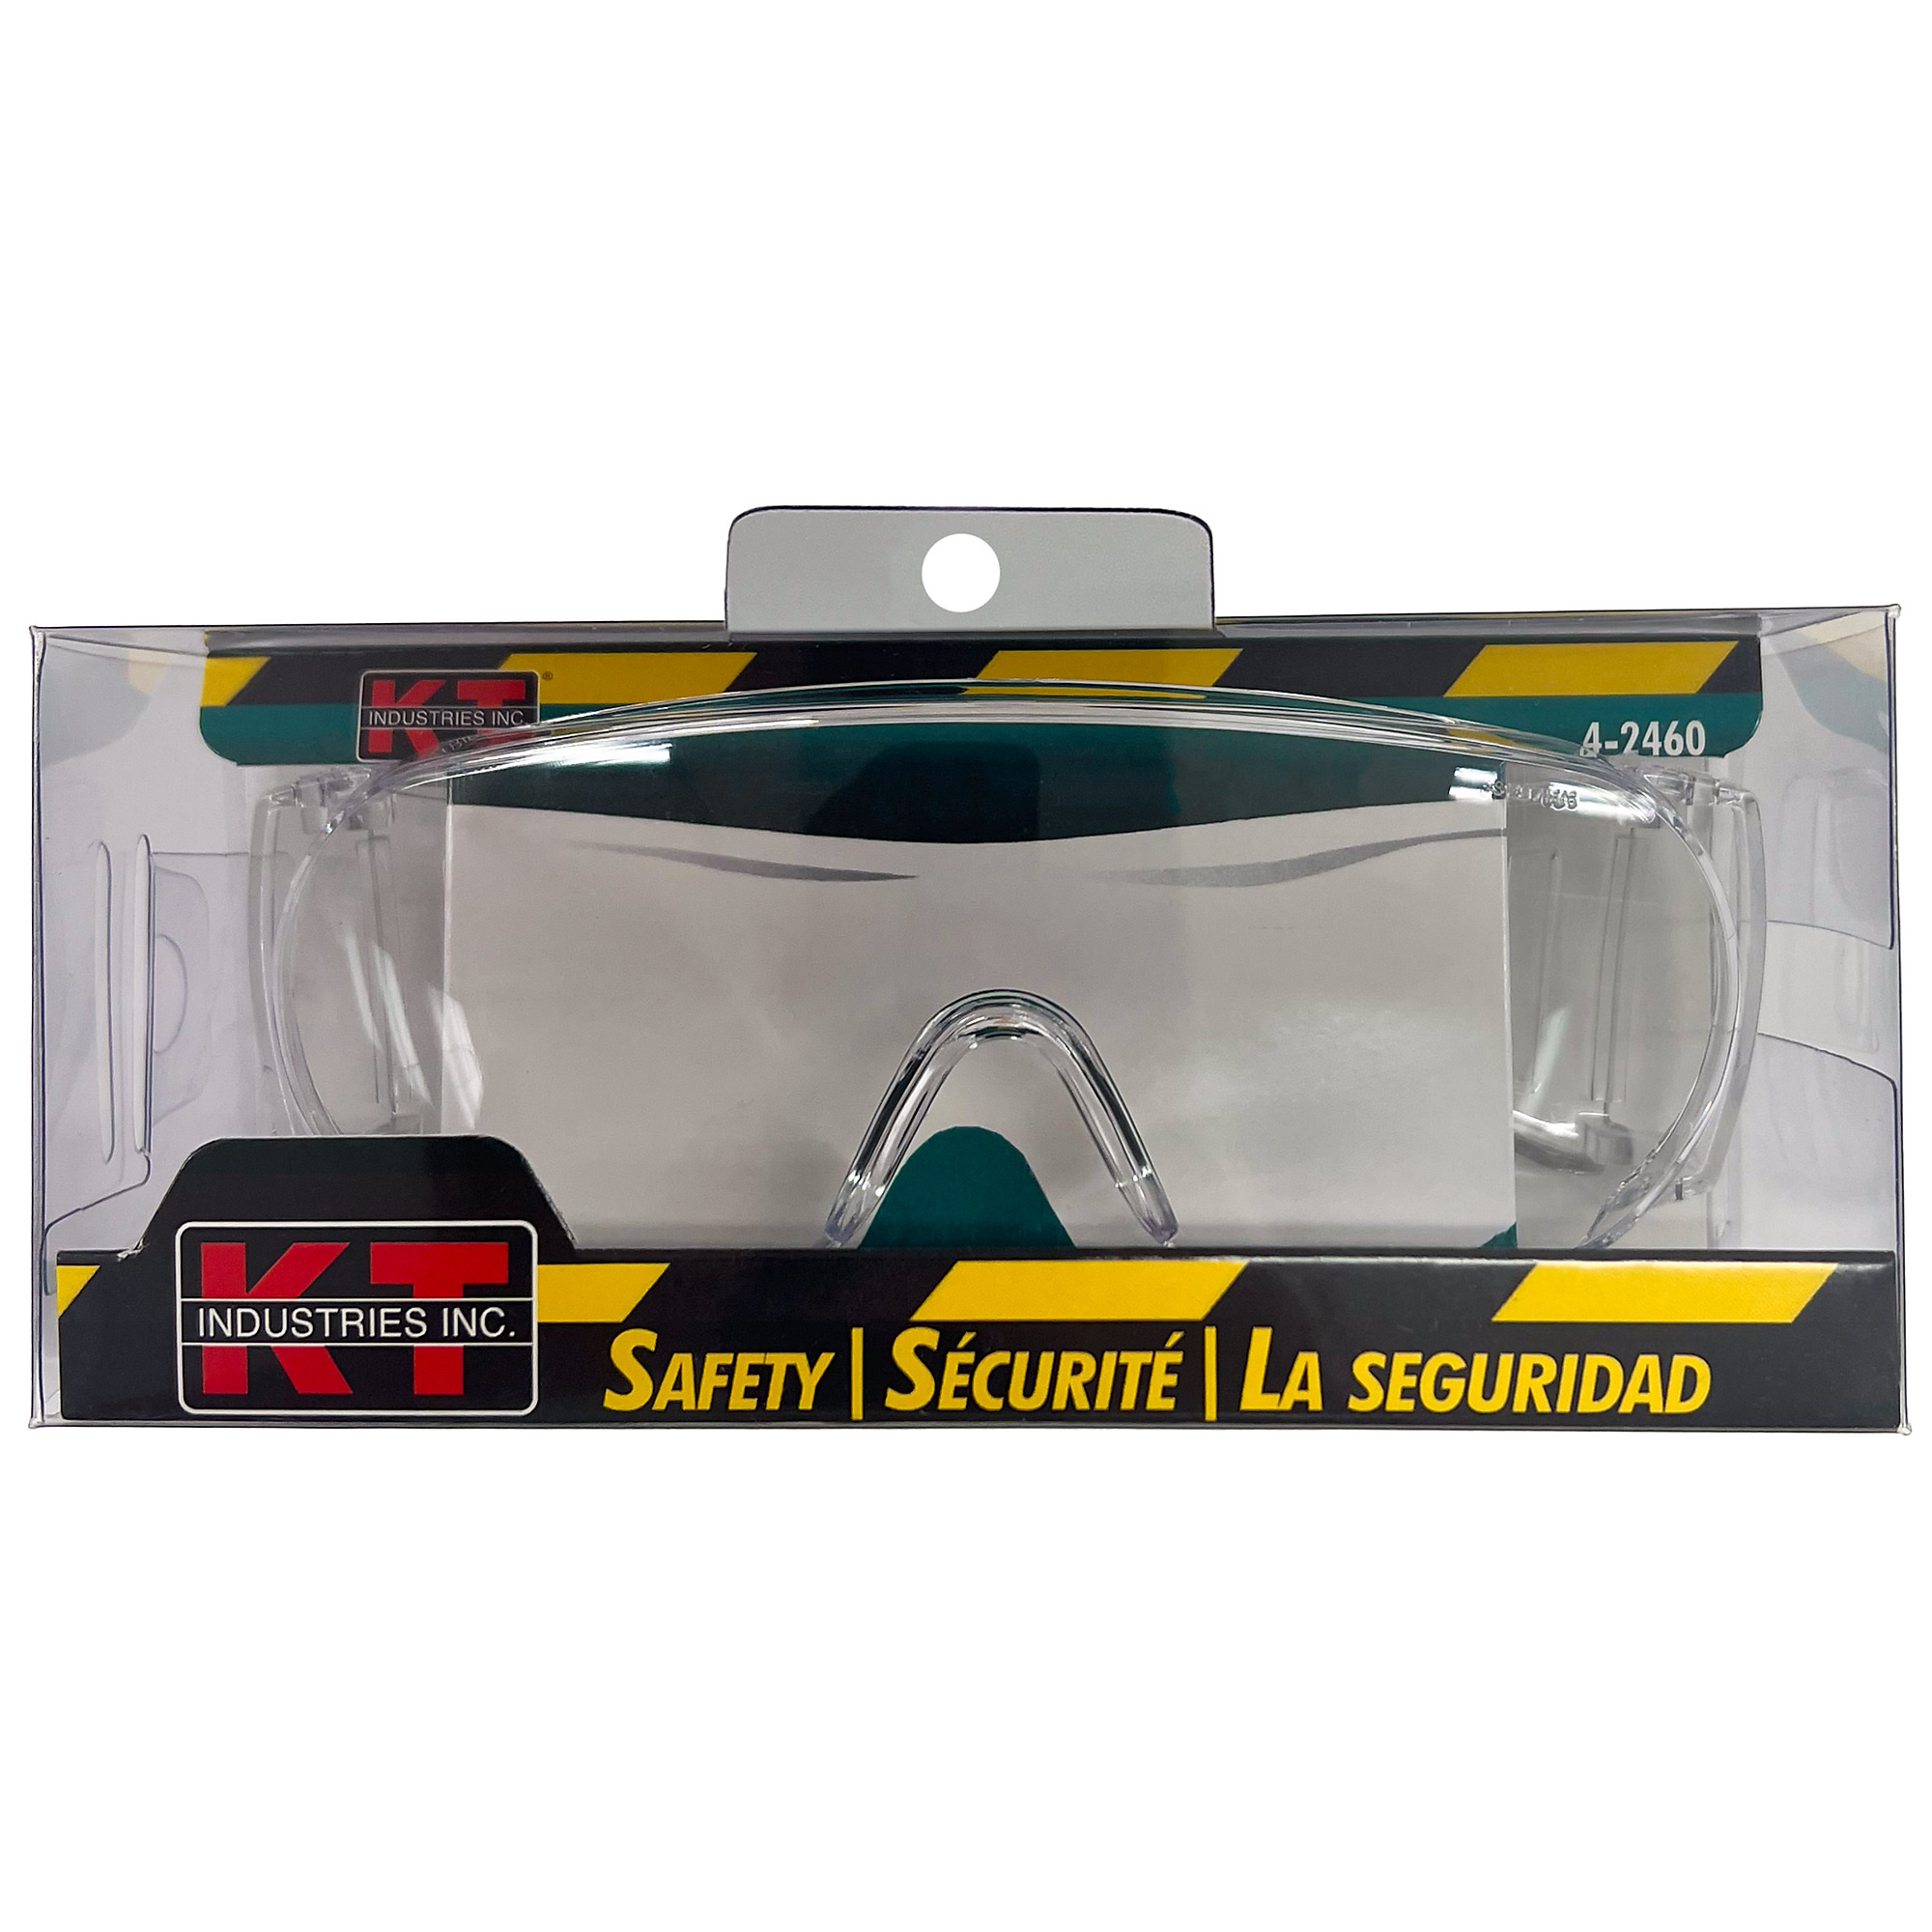
Safety glasses should be your default choice whenever you're working with power tools, carving, sanding, wire, ceramics, or any process that could send chips, shards, fragments, or dust flying toward your face. Even a stretched-canvas staple or a snapped piece of wire can become a projectile with surprising force.
But safety glasses and splash goggles aren't interchangeable.
When you're working with liquids that could splash, such as solvents, acids, alkalis, inks, dyes, cleaning solutions, printmaking chemicals, resin components, or concentrated pigments, upgrade to chemical splash goggles appropriate for the material. Unlike ordinary safety glasses, properly fitted splash goggles provide much more complete protection around the eyes and help prevent liquids from reaching them from the sides, top, or bottom.
If you're pouring chemicals, mixing concentrated solutions, or cleaning equipment with hazardous liquids, take the extra minute to put them on.
Also know what you'll do if something goes wrong before you begin. Know the location of the nearest sink or eyewash station and check the product's label or Safety Data Sheet for first-aid instructions. If a hazardous substance enters your eye, begin flushing immediately rather than spending precious time looking up what to do.
Prevention is much easier than trying to deal with an eye injury after it has happened.
Your Digital Workspace Counts Too
Not every studio hazard comes in a bottle.
Many artists spend almost as much time staring at monitors as they do looking at canvases, printing presses, drawing tables, or clay.
Give your eyes regular breaks. The 20-20-20 rule is an easy one to remember: every 20 minutes, look at something approximately 20 feet away for at least 20 seconds.
Position your monitor at a comfortable distance, generally around 20–30 inches away, with the screen at or slightly below eye level. Reduce glare, adjust the brightness so the screen isn't dramatically brighter than the room around it, and remember to blink. Artificial tears can also help with dryness for some people.
A headache and exhausted eyes shouldn't be the price of finishing a Photoshop file.
Nothing Goes in Your Mouth
This seems obvious.
Artists nevertheless have an astonishing ability to ignore it.
Don't hold brushes between your teeth. Don't lick brushes to make a point. Don't bite thread. Don't use your mouth as a third hand. Don't pull off dirty gloves with your teeth.
And don't eat or drink while actively handling hazardous materials.
There is another rule worth making absolute:
Once a kitchen tool becomes an art tool, it stays an art tool.
If you've used a measuring cup for dye, a spoon for pigment, a whisk for plaster, a baking tray for clay, or a blender for papermaking, congratulations: you now own a studio tool.
It does not go back into the kitchen.
Don't rely on remembering which measuring cup contained cobalt pigment three months ago. Separate studio equipment from food equipment and keep it that way.
Control the Dangly Things
Long hair should be tied back when you're working around machinery, flames, rotating tools, or anything it could become caught in.
The same principle applies to jewelry. Dangling necklaces, bracelets, earrings, lanyards, scarves, hoodie strings, and other loose objects can become entanglement hazards around moving equipment.
Loose sleeves deserve attention too.
You don't have to dress like you're entering a factory every time you walk into your studio. You do need to look at yourself before operating equipment and ask, "Is there anything hanging off me that this machine could grab?"
If there is, secure it or take it off.
Wear Appropriate Clothing
Dress for the work you're actually doing.
Closed-toe shoes make sense when you're handling heavy objects, sharp tools, chemicals, hot materials, or anything else you'd rather not drop on your foot. Durable clothing can protect against scrapes and minor splashes. An apron or shop coat can create another useful barrier while also keeping studio contaminants off the clothes you wear home.
The important thing is to match your clothing to the process rather than treating "studio clothes" as a costume.
And remember that contaminated clothing can carry studio materials somewhere else. If you've spent the afternoon covered in sanding dust, clay, pigment, or other material, think about what happens when you sit on your couch in those same clothes. Just don't do it. Take them off, throw them in the wash, and get in the shower.
Learn to Assess Risk, Not Fear It
Perhaps the most important studio-safety skill isn't learning a long list of rules. It's learning how to evaluate what you're doing.
Ask yourself:
What is the hazard?
How am I being exposed to it?
How concentrated is that exposure?
How long and how often will I be exposed?
Can I eliminate or reduce the hazard before reaching for protective equipment?
What level of protection is appropriate for what I'm actually doing?
Sometimes the answer is a respirator, goggles, gloves, hearing protection, and specialized ventilation.
Sometimes the answer is soap and water.
Knowing the difference is the point.
Studio safety shouldn't teach artists that their materials are inherently frightening. Nor should familiarity make us careless about genuine hazards. The goal is to understand our materials and processes well enough that precautions become proportionate, routine, and almost boring.
Wash your hands. Moisturize them. Keep things out of your mouth. Tie your hair back. Protect your eyes and ears. Control dust and fumes. Wear the right gear when the situation actually calls for it.
The best studio safety practices aren't necessarily the most dramatic ones.
They're the ones you actually practice every day.
Comments
Be the first to comment...