How to Hang Artwork Like a Pro: A Guide for Artists and Collectors
- Posted on
- By Jennifer Boe
- 0
Hanging artwork is an art in itself. Whether you’re a student displaying your first gallery piece, a collector curating a home gallery, or an artist preparing for an exhibition, how you hang your artwork can significantly impact how it’s perceived. A well-hung piece enhances the space, highlights the work, and ensures it’s properly supported for longevity. Here’s a step-by-step guide to help you hang artwork with confidence.
Start With Placement
Before you touch a hammer, decide where the piece actually belongs. Watch the Light
Placement affects longevity, not just looks.
Avoid direct sunlight (UV light will fade artwork)
Use UV-protective glazing if possible
On a budget? Choose lower-light areas, like hallways, and rotate pieces out to give them a rest.
The Eye-Level Rule… More of a guideline. Suggestion really.
Hang so the center sits about 60 inches, or 5 feet, from the floor
This is standard gallery height and works well for a focal piece
This isn’t a rule you have to obey, just a starting point. If it looks off, it is off. Fix it.
Among museums, spaces like the Solomon R. Guggenheim Museum and the Denver Art Museum pose unique challenges, because their walls and floors aren’t typically flat or level. In these cases, strictly following the five-foot rule would make artworks appear misaligned, so art handlers adjust placement to what looks level within the space, rather than what measures perfectly level.
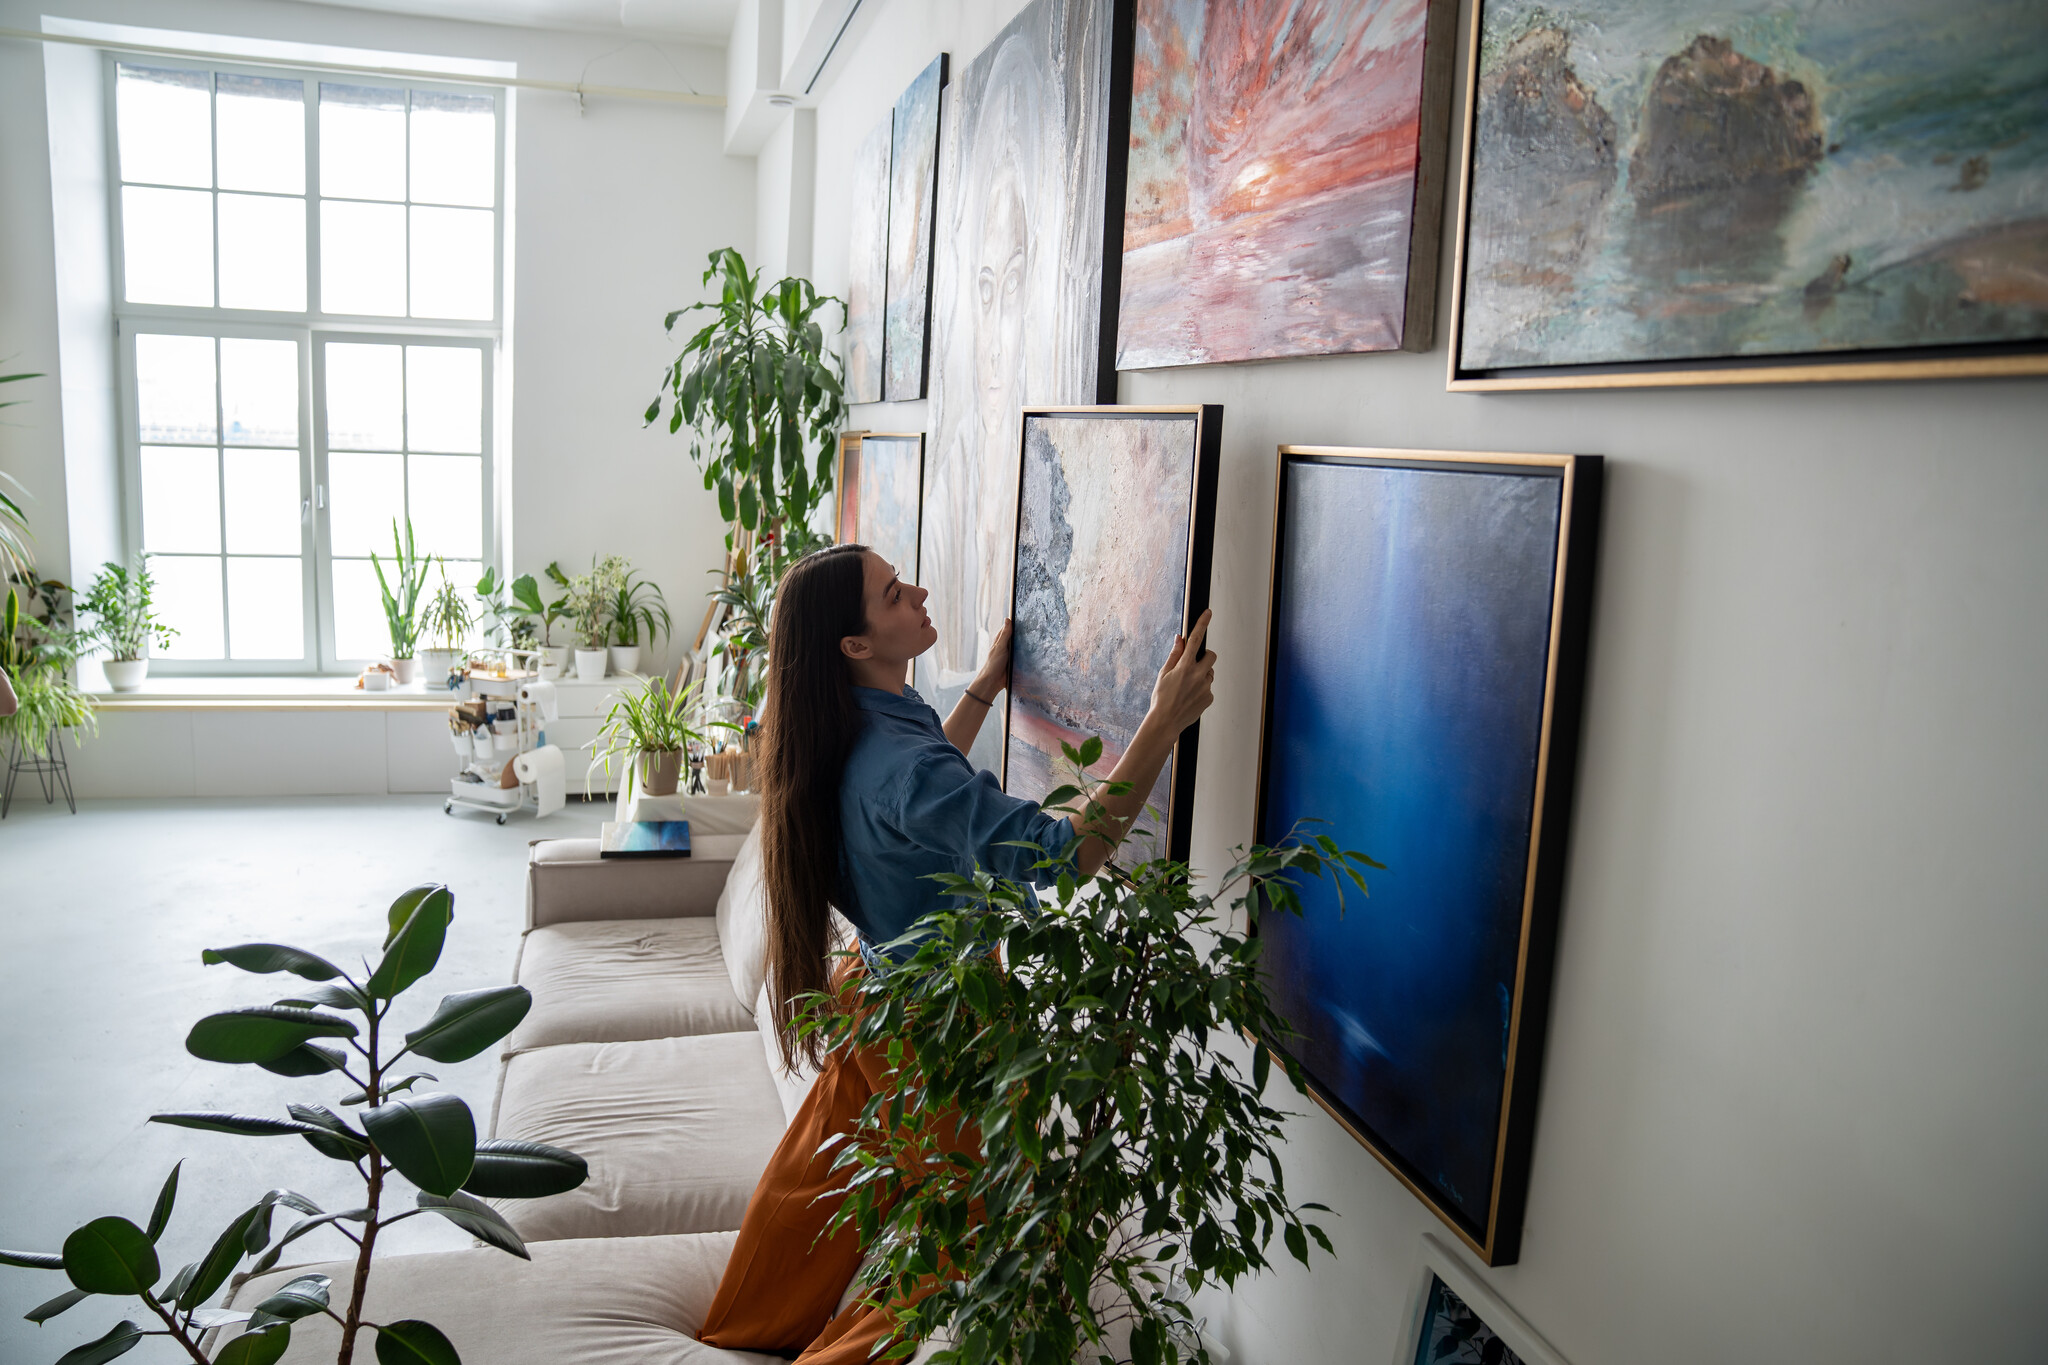
Build Around a Focal Point and Mock It Up First
When hanging more than one piece, the goal isn’t just placing individual artworks, it’s creating a conversation between them. You’re arranging scale, spacing, rhythm, and balance. Think of yourself as a visual DJ, mixing pieces so they work together.
A “random” gallery wall only looks good when there’s structure behind it.
Start with one central piece at eye level, then build outward one piece at a time. It’s faster and usually looks more intentional than trying to solve the whole wall at once.
Three Layout Approaches That Work
Grid: Clean rows with consistent spacing (about 2–3 inches)
Linear: Align centers, tops, or bottoms across pieces
Salon Style: Start with a central anchor and build outward organically
Mock It Up Before You Commit
Before making holes, test the layout first:
Paper Templates: Cut paper to the size of each frame and tape them to the wall
Painter’s Tape Outlines: Quick, clean, and easy to adjust
Floor Layout: Arrange everything on the floor first to explore combinations
Key Principle
What matters most is how the pieces interact with each other. Spacing, alignment, and visual weight often matter more than matching frames or exact measurements.
If everything is different and unevenly spaced, it looks accidental. If the spacing is consistent, it looks intentional.
Choose the Right Hardware and Stabilize the Piece
This is where people cut corners and where things fail. Getting artwork onto the wall is only half the job. It also needs to stay secure, level, and in place.
Match the Hardware to the Artwork and the Wall
A secure installation depends on two separate systems: the hardware attached to the back of the artwork and the hardware that goes into the wall. Both matter.
Hardware for the Back of the Piece
Choose hanging hardware based on the size, weight, and how you want the artwork to sit.
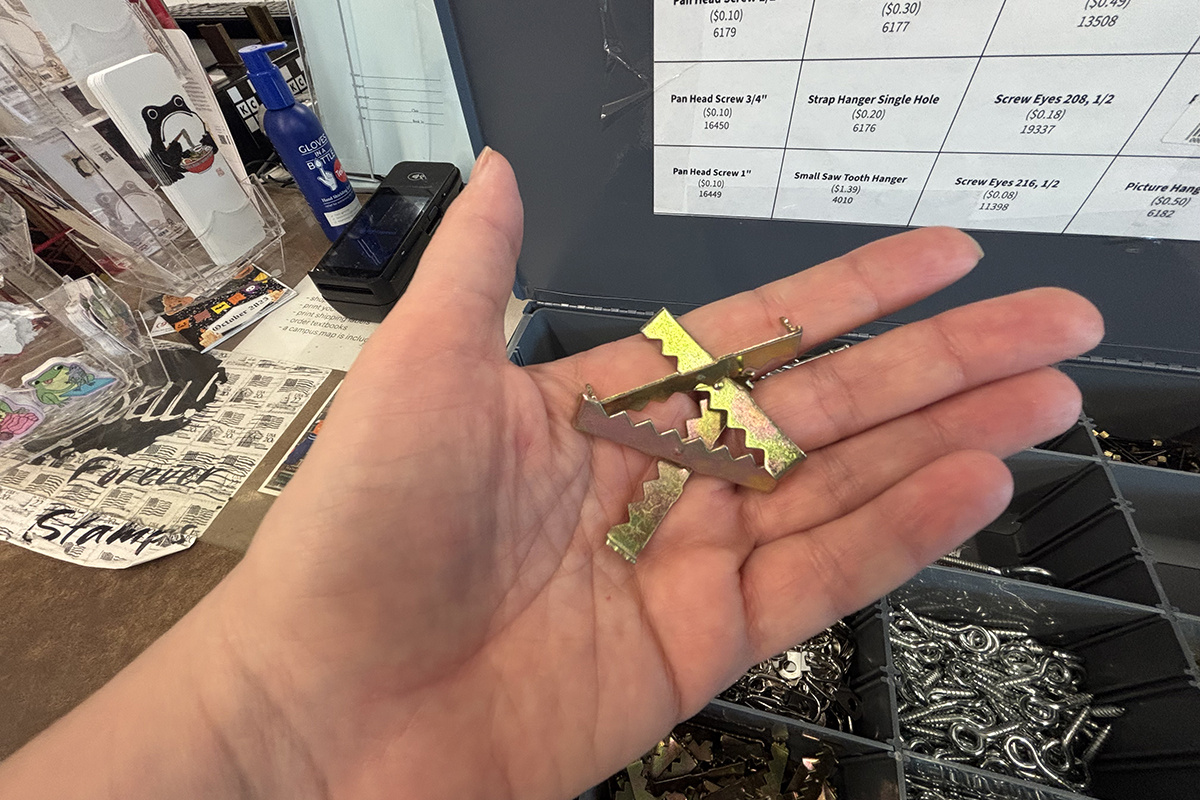
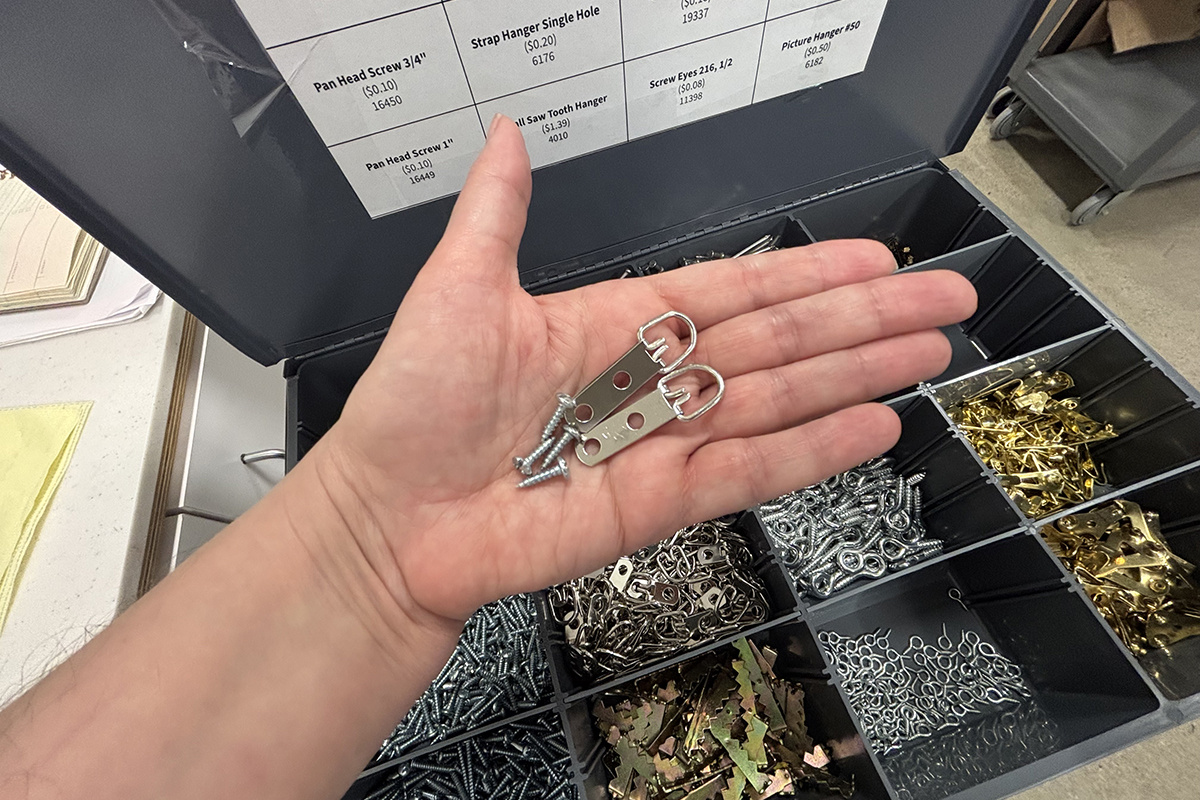
Sawtooth Hangers: Best for smaller, lightweight frames. Fast and simple, but not ideal for larger work.
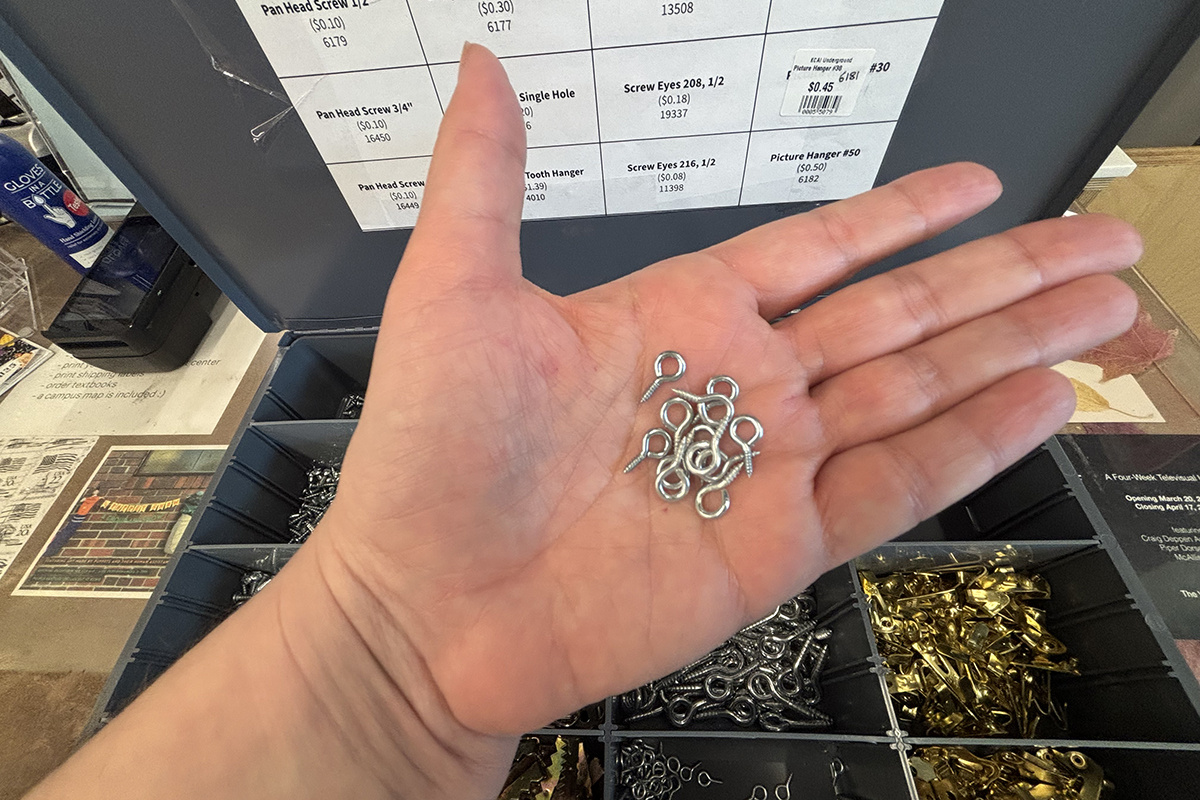
Screw Eyes: Common on wood frames and often paired with braided picture wire. Good for medium-weight pieces.
D-Rings / Strap Hangers: One of the best all-around options for framed work. Can be used with wire or hung directly from hooks.
French Cleat: Ideal for heavy, oversized, or valuable work. Provides strong support, keeps the piece close to the wall, and helps distribute weight evenly.
With strap hangers, the depth and grip of the screws into the frame matter more than the number of holes in the hanger itself.
Single-hole strap hangers allow a bit of swivel and movement. This makes them ideal when using hanging wire.
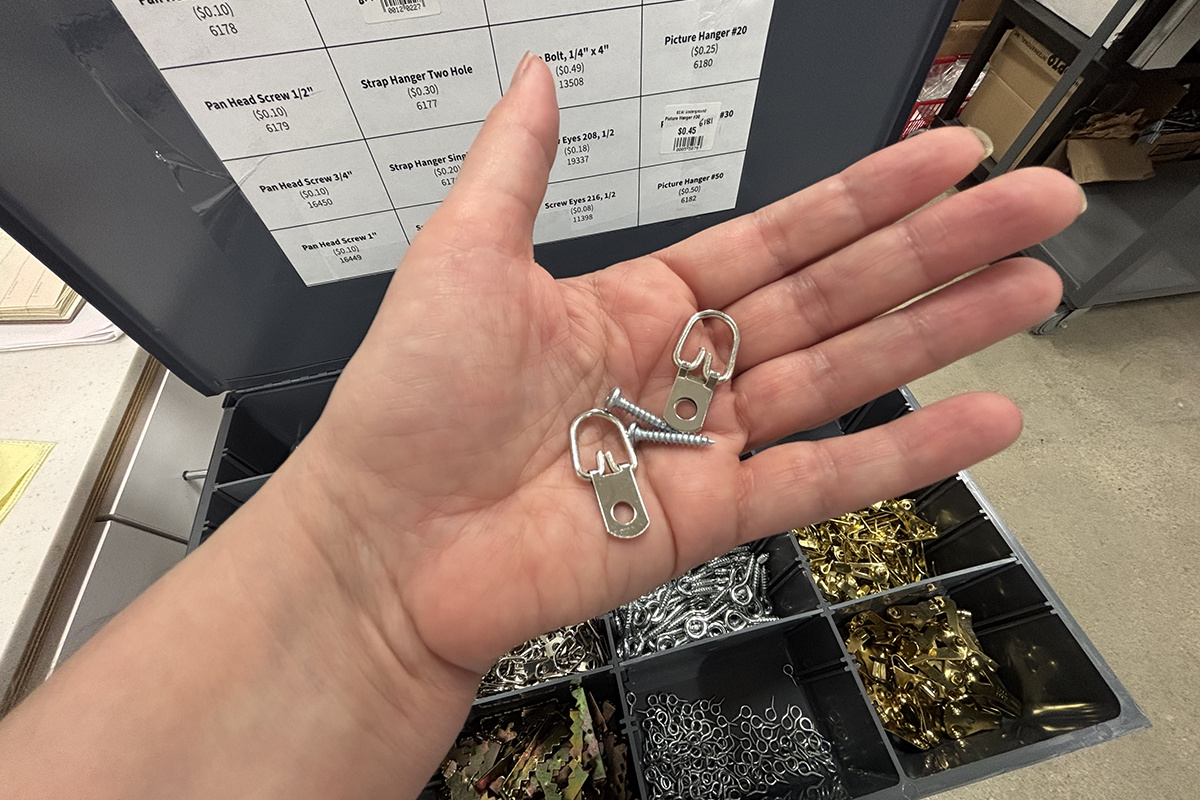
Double-hole strap hangers stay fixed in position with less play. These are best when you intend for the artwork to hang directly from the D-rings without a wire.
Hardware for the Wall
Once the back hardware is correct, match the wall hardware to the weight of the piece and the wall surface.
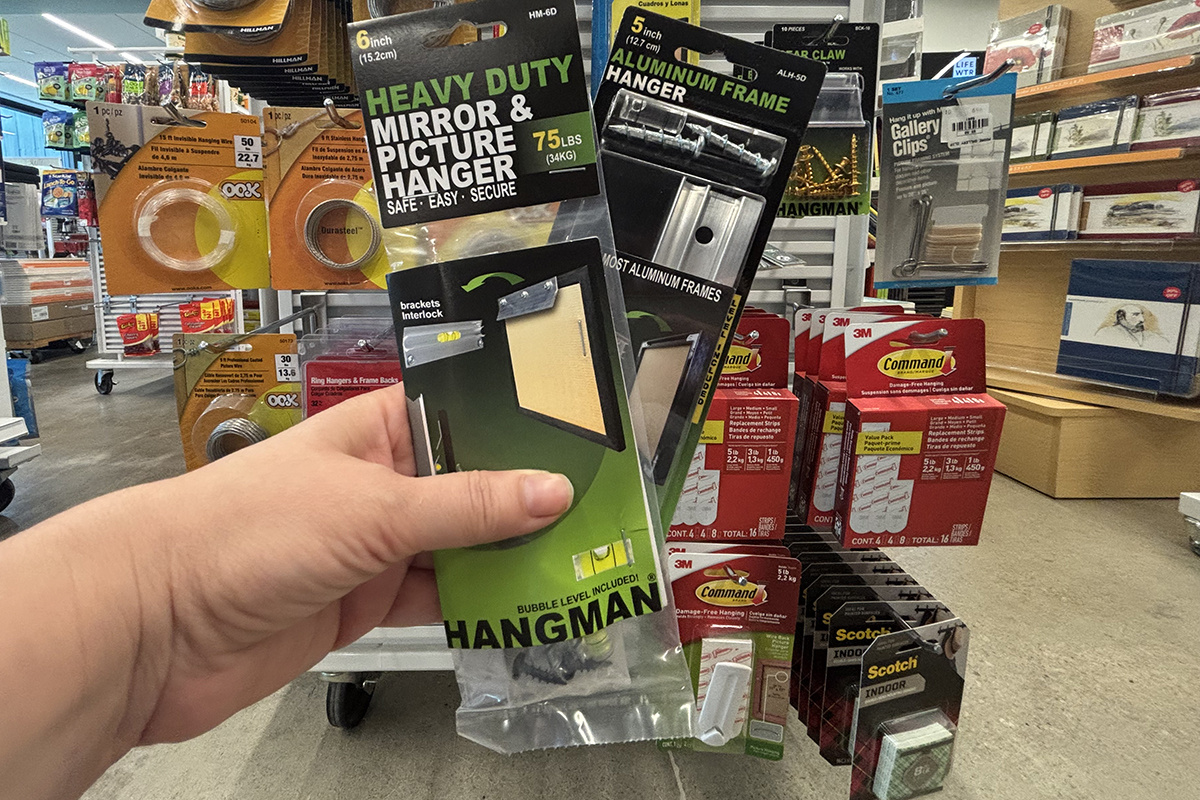
For pieces under 10 lbs, standard picture hooks or adhesive strips may be enough on smooth walls.
For pieces 10–25 lbs, use stronger picture hooks with angled nails or hooks paired with anchors as needed.
For pieces 25+ lbs, use screws with anchors, studs, or a French cleat system.
Wall material matters:
Drywall: Use anchors for anything with noticeable weight
Plaster: Drill pilot holes first to reduce cracking
Brick or Concrete: Use masonry anchors and screws
Studs: Always the best option for heavier work. You can locate them with a stud finder or a simple magnet.
If you are unsure what is behind the wall, assume it needs more support, not less.
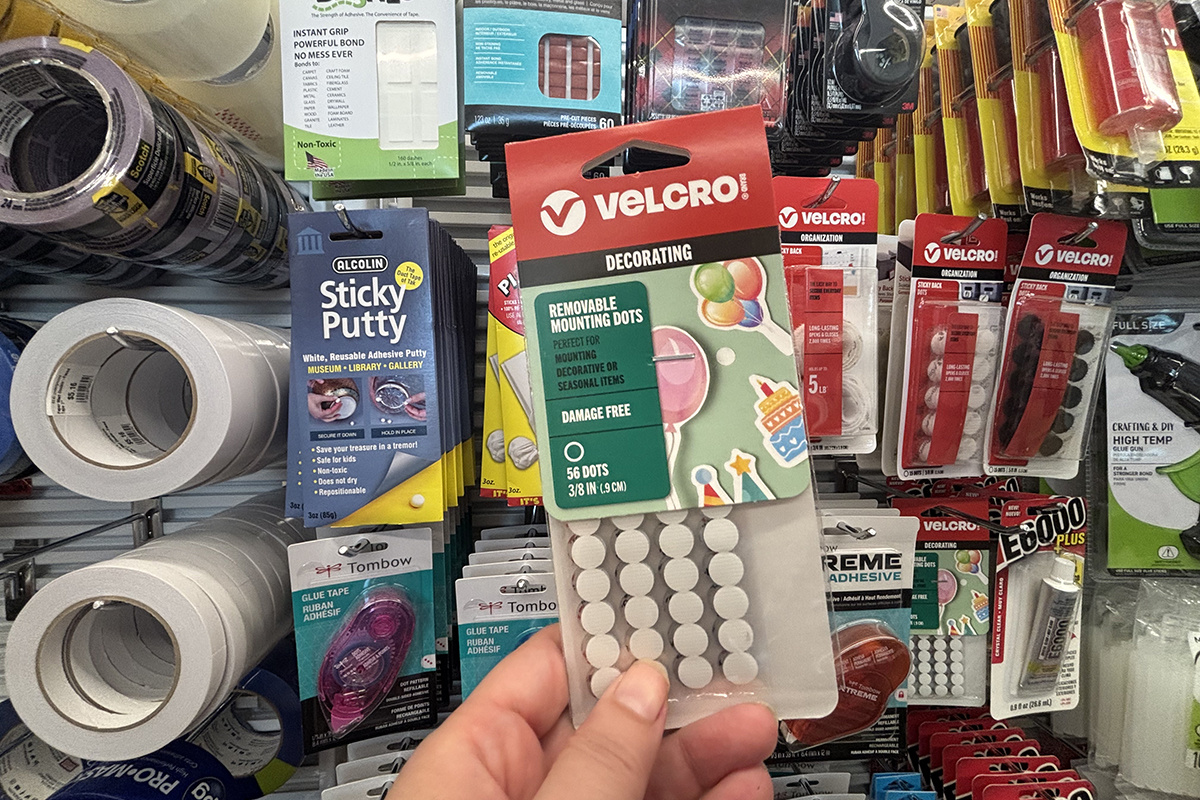
Adhesive Hooks Have Limits
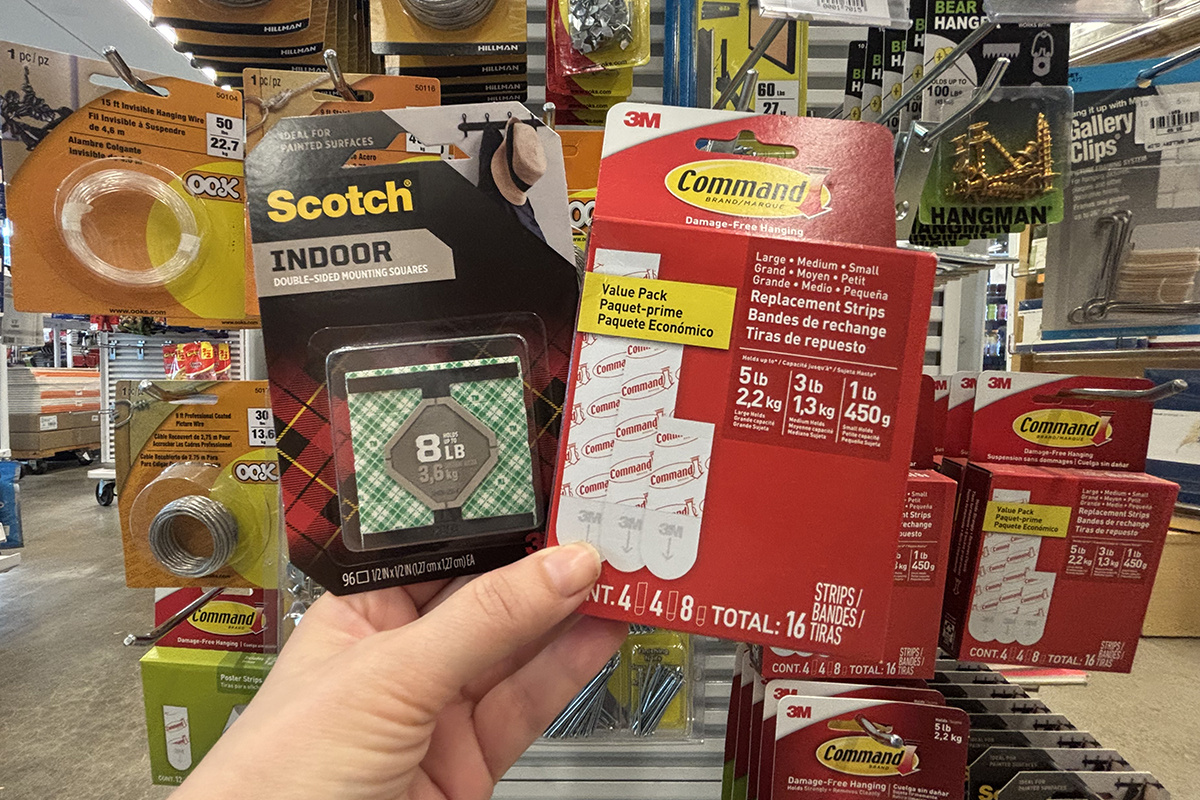
Adhesive strips and velcro can be very useful when used correctly, especially when you want to avoid holes in the wall.
They work best for lightweight frames, unframed posters or prints, dorm rooms, temporary setups, and smooth clean walls.
They are not ideal for heavy frames, textured or dusty surfaces, or anything valuable, fragile, or sentimental.
Follow the listed weight limits exactly, not approximately. Surface prep matters too, so clean the wall and apply according to directions.
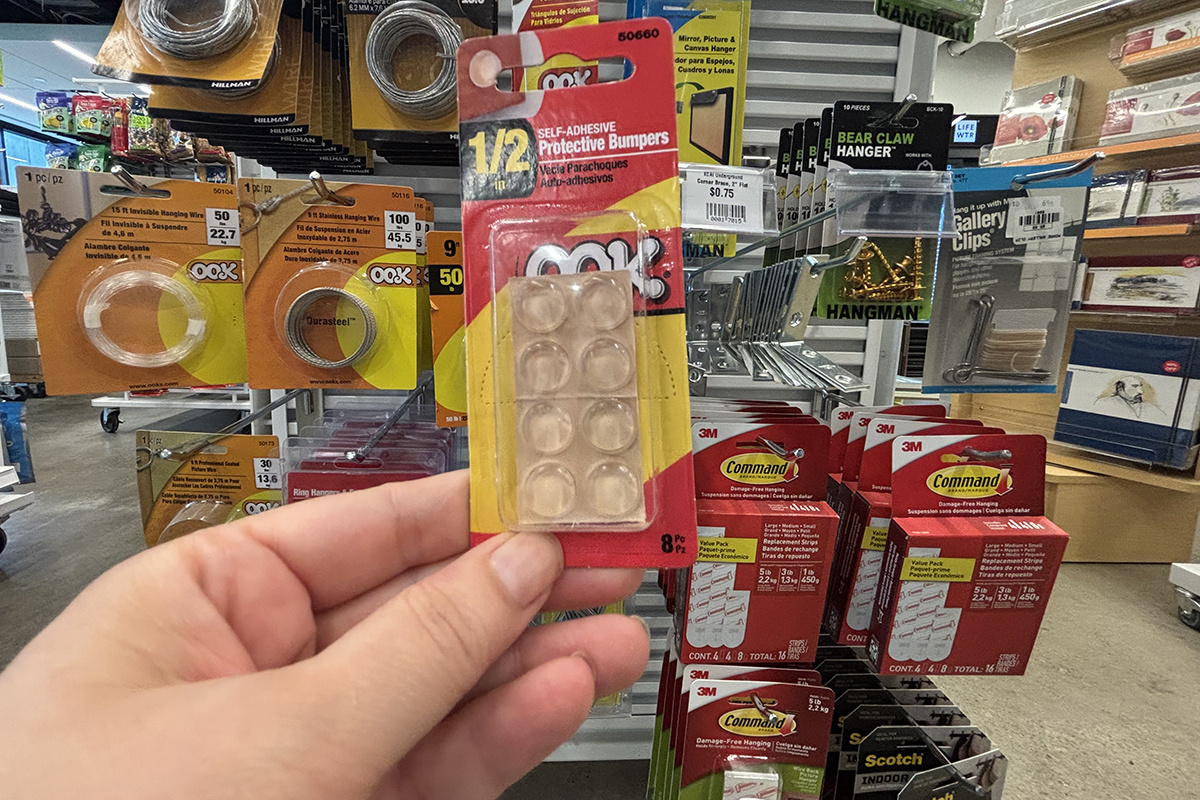
Keep It Stable
Add rubber bumpers to the bottom corners to prevent shifting and protect the wall. Tighten any slack in the hanging wire so the frame sits properly. Use two hooks when possible to reduce tilting and movement.
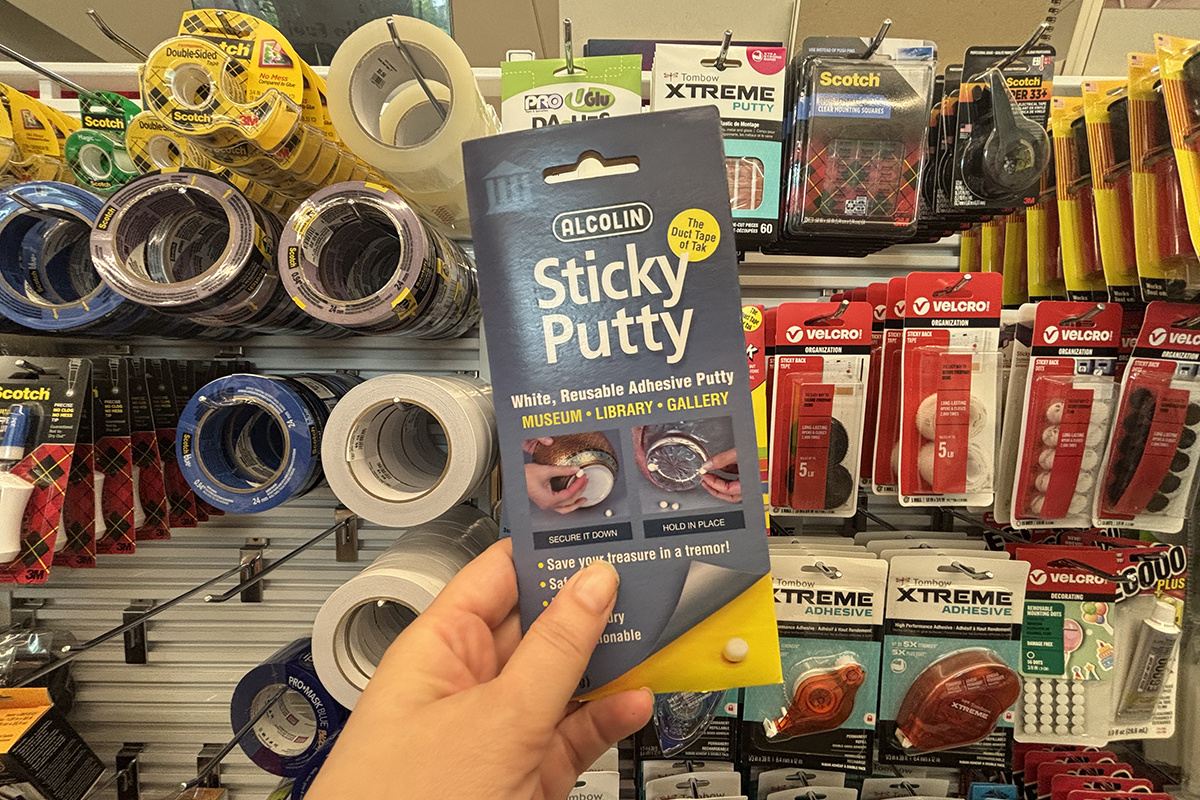
Try Out Museum or Sticky Putty for Stability
For objects displayed on shelves, mantels, or pedestals, Museum Putty adds an extra layer of protection. It helps reduce the risk of items tipping, sliding, or being knocked over, making it especially useful in earthquake-prone areas or high-traffic spaces.
It is ideal for glass, crystal, vases, figurines, ceramics, and other small sculptural objects.
To use it, roll the putty into small pea-sized balls or thin strips, apply it to the base of the object, then press the item down lightly and twist it into position.
It typically sets within about 30 minutes and can be removed cleanly with little to no mess.
Use the Right Wire
If wire is being used, it should be braided picture wire. Never use single-strand floral wire, tie wire, or other improvised substitutes.
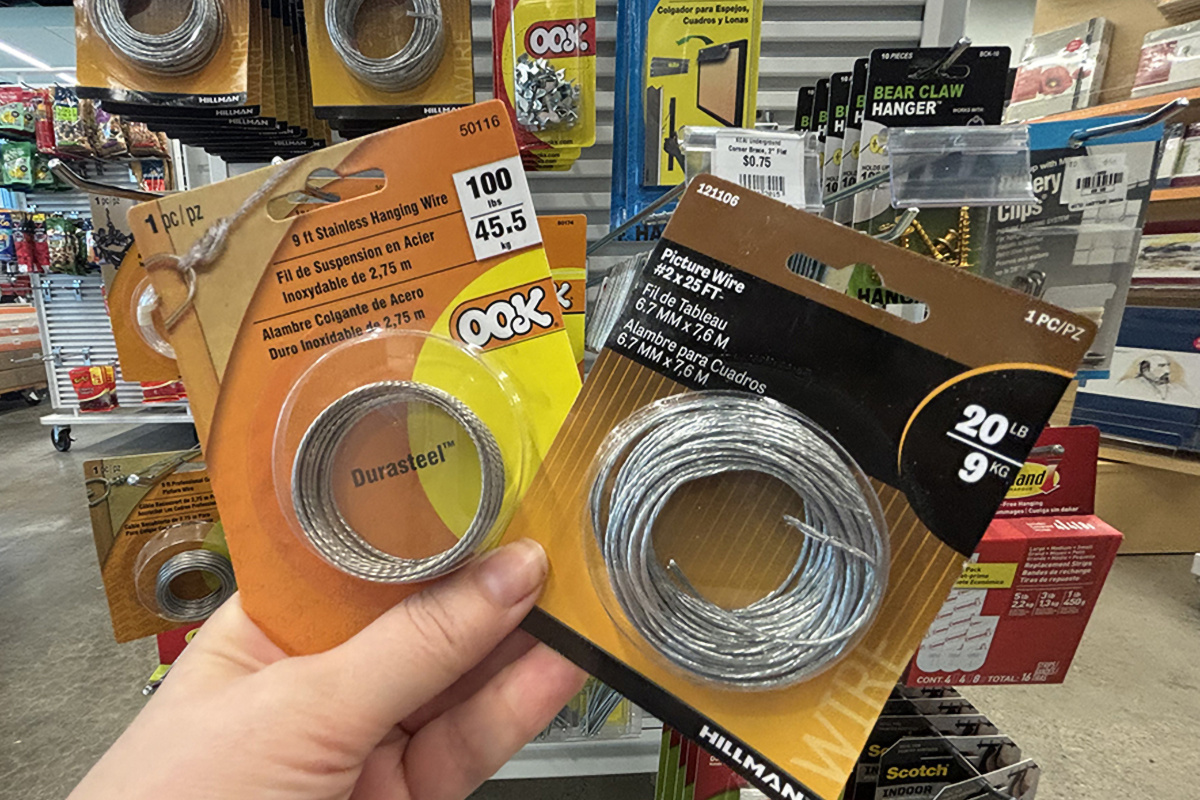
Braided picture wire is made of multiple strands twisted together, which gives it strength, flexibility, and an added margin of safety. If one strand begins to fail, the remaining strands can often continue supporting the piece long enough for the problem to be noticed.
Single-strand wire has no backup. When it snaps, the artwork falls with it.
Use hardware designed for hanging art, not whatever wire happens to be nearby. It is a small choice that can prevent a broken frame, damaged artwork, and a very bad afternoon.
All that being said, when possible, skip the picture wire and hang directly from two properly placed D-rings for a more stable result. For medium or large frames, two hooks are usually better than one because they reduce tilting and shifting.
Do The Math
Guessing is how walls get extra holes. A tape measure is one of the most important tools in the process because it lets you place artwork intentionally, match heights, center pieces, and keep multiple works aligned.
Use a retractable tape measure with a locking button. Hook the metal end on an edge, pull the tape straight, lock it in place, and read the measurement where the tape meets the point you’re checking. Keep the tape flat and straight for accuracy.
For One Hook with Wire
Use this formula:
1. Measure the height of the artwork
2. Divide by 2 to find the center point
3. Measure from the top of the frame to the hanging point where the wire sits when pulled taut
4. Add that measurement to your target center height (57–60 inches)
That final number is where your hook goes.
Why This Works
When artwork hangs from wire, the wire forms a slight triangle and the hook sits above the frame’s hanging point. The key is measuring the wire under tension, not slack.
For Two Hooks with D-Rings (No Wire)
This is often the cleaner, more stable method for medium and large frames.
1. Measure the distance between the two D-rings from center to center
2. Divide that number by 2
3. Mark the wall center where you want the artwork centered
4. Measure left and right from that center mark by the half-distance
5. Mark both hook locations at the same height
6. Install hooks and hang directly from the rings
Example: If the rings are 24 inches apart, divide by 2. Place hooks 12 inches left and right of center.
Quick Reality Check
If the artwork lands wrong, it is usually because:
The wire was measured slack instead of taut
Hook height was calculated incorrectly
D-rings are not mounted evenly
Hook spacing was measured from the outer edges instead of center points
This is one of those small details that makes a big difference. Get it right once, and you stop making extra holes forever.
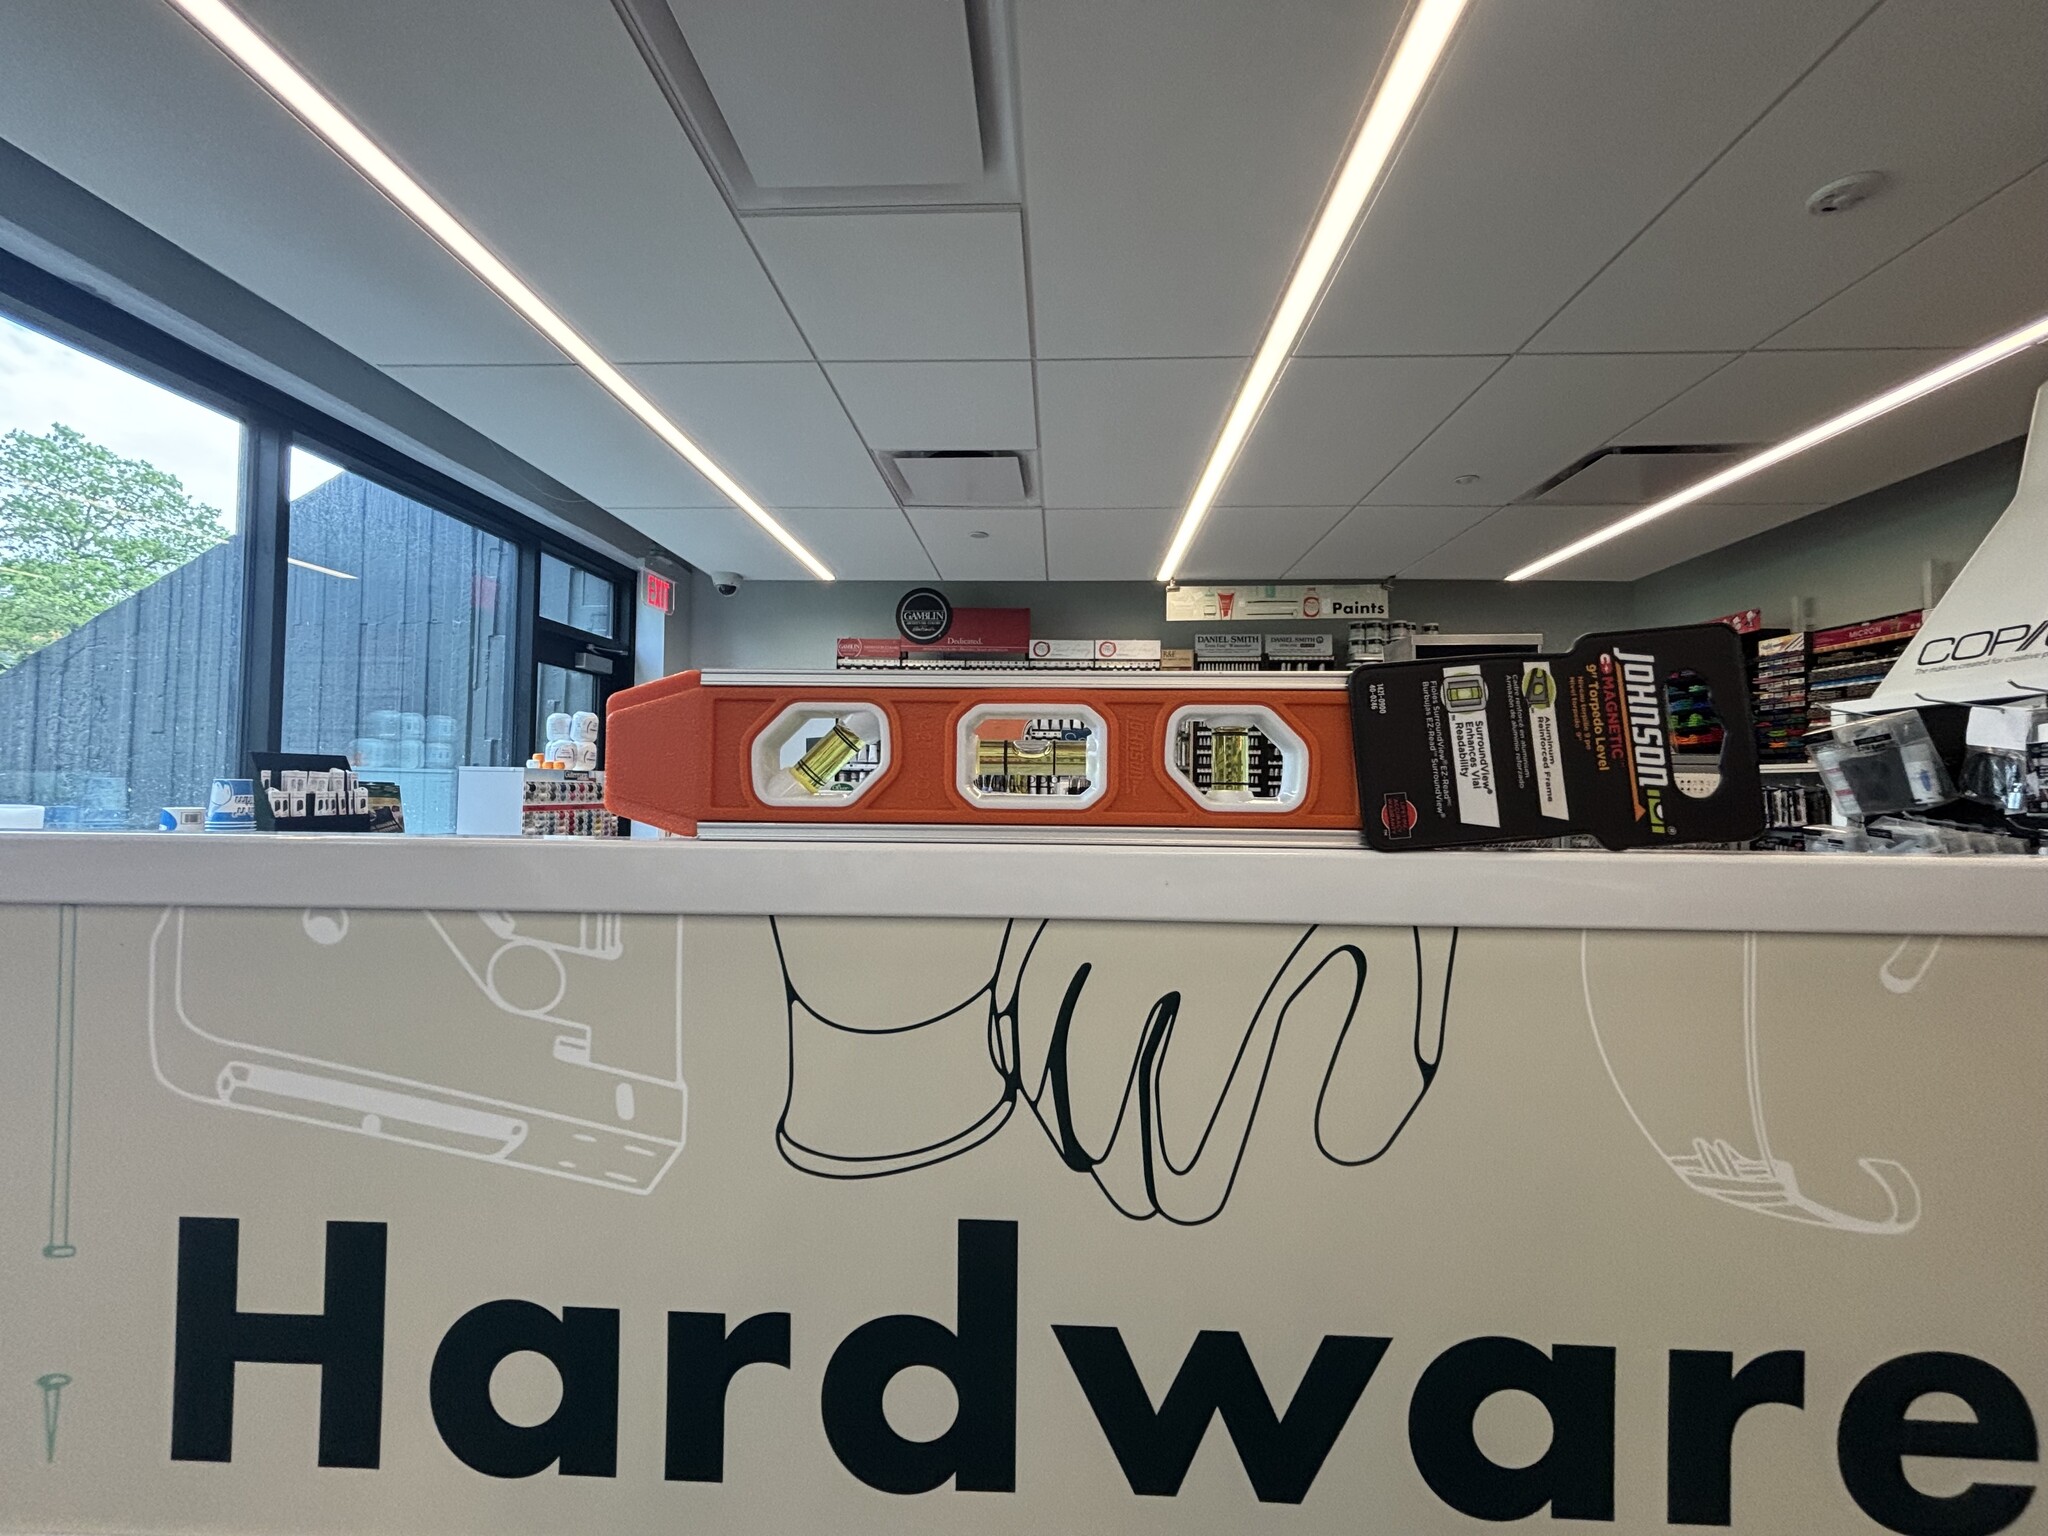
Level It Properly
Use a level instead of eyeballing it. If you don’t have one on hand, Both Apple and Android phones, come with a built-in digital level inside the pre-installed Measure app. Tap the Level tab and use it like a spirit level. It will display the angle, show 0°, and turn green when the piece is perfectly horizontal or vertical.
Then step back 10 to 15 feet and check again, since your eye often catches imbalance better from across the room than up close. Also, remember what we said about the Guggenhiem and the Denver Art Museum: if it looks off, it is off no matter what the level says.
Sit Back and Enjoy
Hanging artwork well is a mix of planning, patience, and trusting your eye. Use the right hardware, take accurate measurements, respect the wall surface, and remember that how pieces relate to each other matters just as much as where any single one lands. A thoughtfully hung wall can make a room feel finished, personal, and alive.
And when it is time for the artwork to come down, finish the job properly. Remove hardware carefully, patch any holes, let the patch dry fully, and sand it smooth before painting. That sanding step is the one people most often skip, and it is the difference between an invisible repair and a lumpy spot that catches light forever. Once smooth, touch up with matching paint and your wall is ready for whatever comes next.
Comments
Be the first to comment...