

Cut It Out: A Guide to Cutting Tools
- Posted on
- 0
There’s something deeply satisfying about a clean, precise cut. No matter if you're trimming paper, cutting fabric, building a model, or preparing artwork for framing, choosing the right tool can make the difference between a professional finish and a frustrating afternoon.
Scissors, hobby knives, utility knives, guillotine cutters, and mat cutters all have their strengths. Understanding how each works, what materials it handles best, and how to use it safely will help you work more efficiently, protect your materials, and avoid unnecessary injuries.
And remember: a sharp blade is generally safer than a dull one. We'll explain why.
Scissors: The Everyday Essential
Best for: Paper, fabric, thread, string, tape, and other thin, flexible materials.
Scissors are among the most versatile tools in any studio. Their two opposing blades create a shearing action, allowing you to cut through materials without needing a separate cutting surface.
When to Use Scissors
Cutting paper, cardstock, and lightweight packaging.
Trimming fabric, thread, and other fibers.
Following curved lines and cutting organic shapes.
Making quick, controlled cuts without additional equipment.
Tips for Better Cutting
Choose scissors designed for your material. Fabric shears have long, sharp blades designed to cut textiles cleanly, while smaller precision scissors are better suited to intricate paper cutting. Heavy-duty scissors are designed for thicker materials.
Keep separate scissors for fabric and paper. Paper contains abrasive fillers that gradually dull blades. Using your good fabric shears on paper can make them less effective at cutting cloth.
Let the blades do the work. Avoid forcing scissors through materials that are too thick or rigid. Doing so can bend the blades, damage their alignment, or cause the material to slip.
Cut curves smoothly. Rather than making a series of short, choppy cuts, rotate the material while maintaining a smooth cutting motion.
Scissor Safety and Maintenance
Keep your fingers clear of the blades, especially near the pivot.
Never attempt to catch falling scissors.
Carry scissors with the blades closed and pointed downward.
Never use scissors as a screwdriver, pry bar, or substitute utility knife.
Clean adhesive residue and other buildup from the blades.
Store scissors closed and dry to prevent damage and corrosion.
Are your scissors getting dull? The KCAI Underground offers scissor sharpening for just $4! A properly sharpened pair of scissors cuts more cleanly, requires less effort, and can last for years with appropriate care.
Hobby Knives: Precision in the Palm of Your Hand
Best for: Intricate paper cutting, stencils, lightweight cardstock, thin plastic films, and fine details.
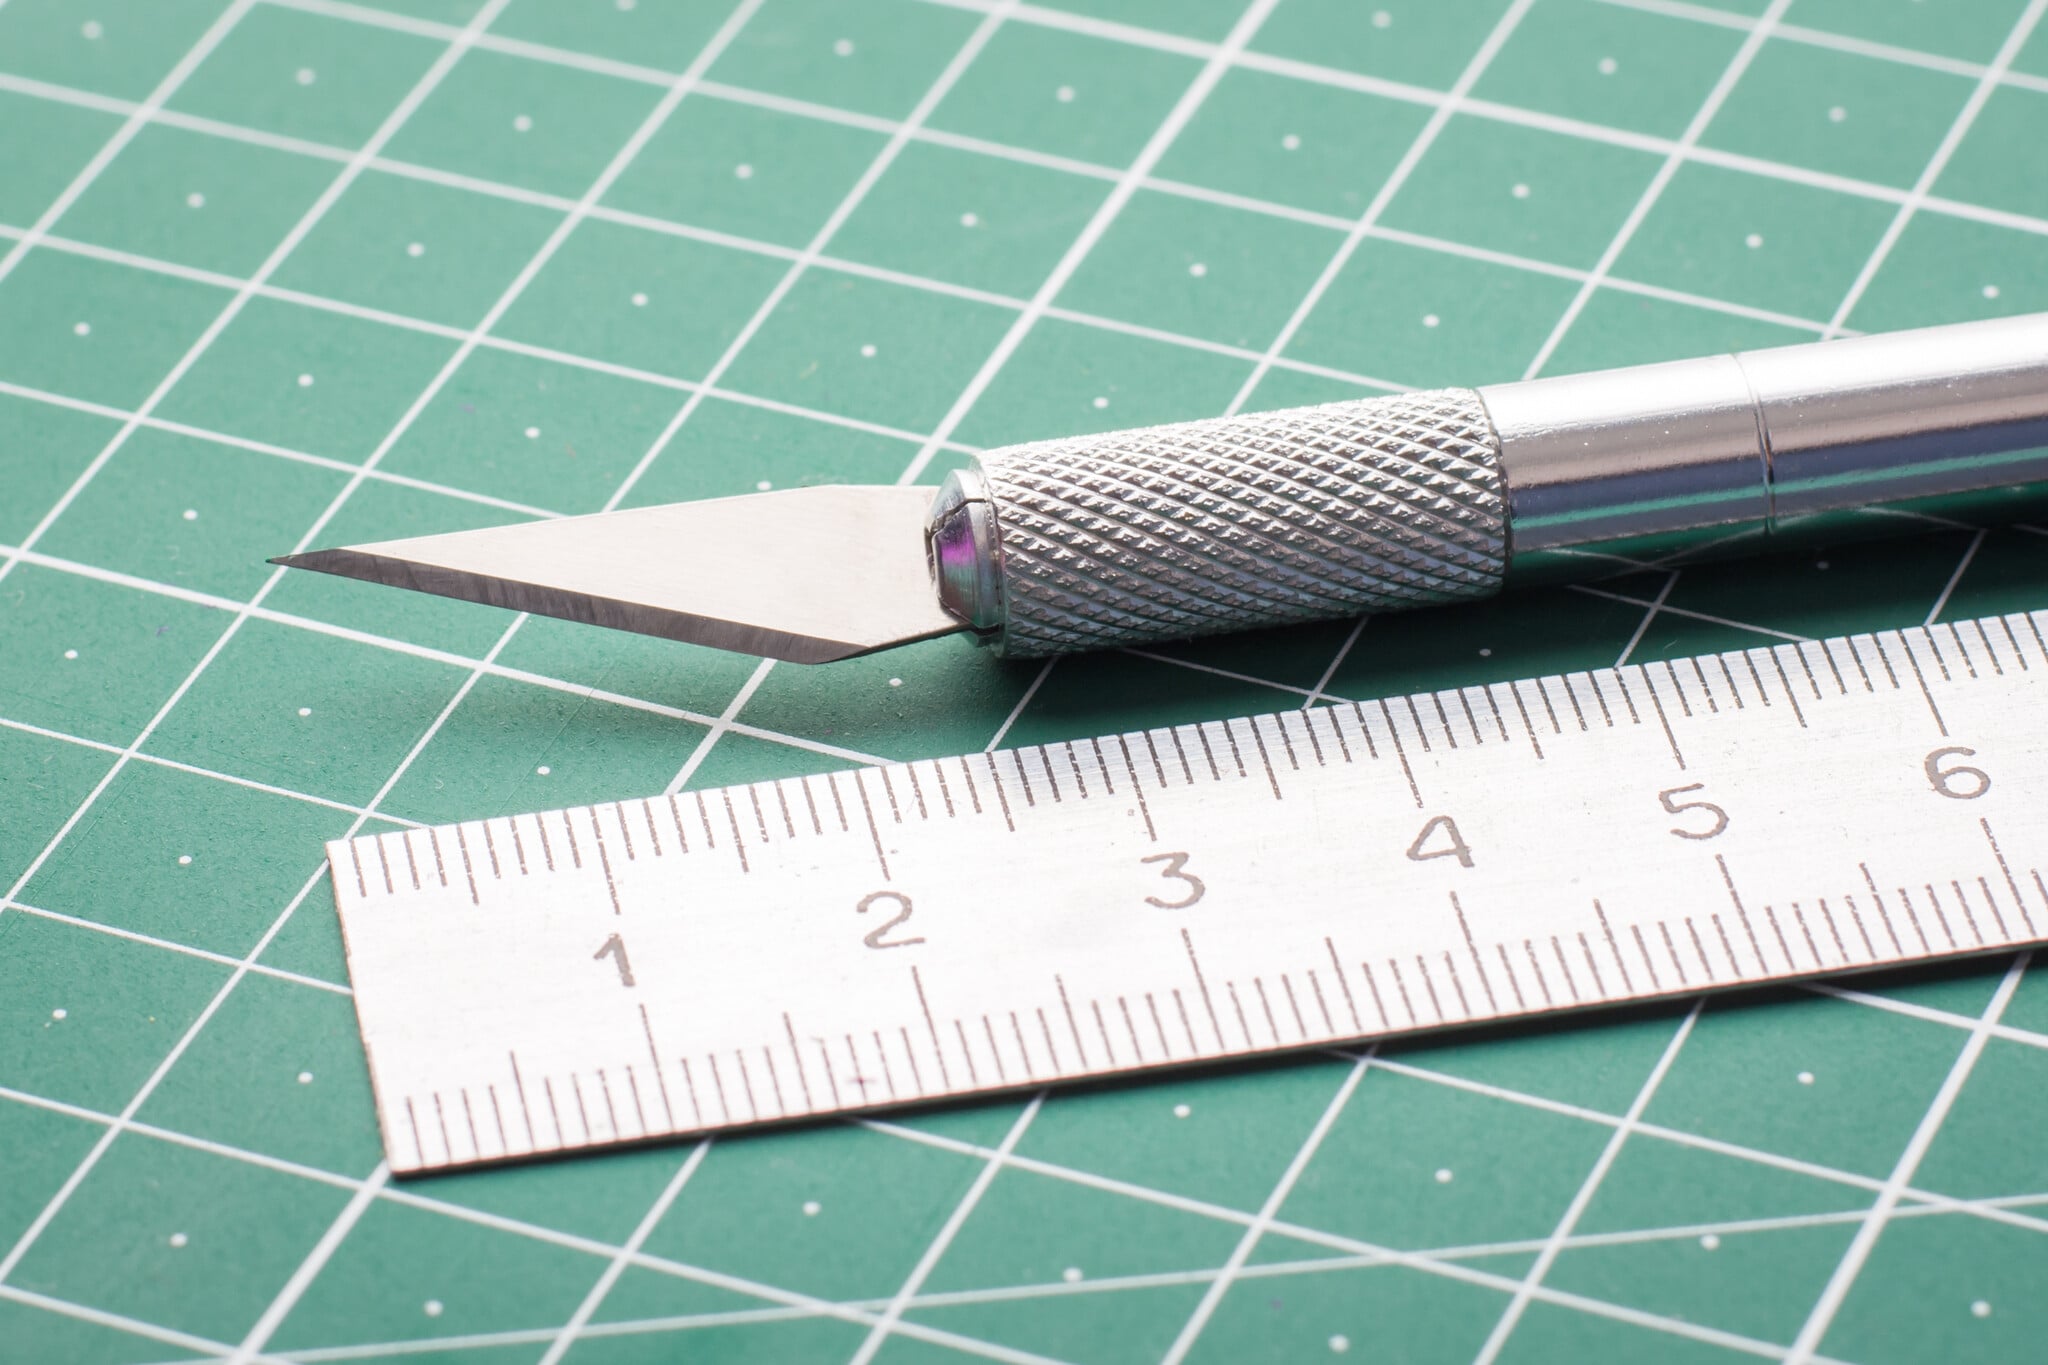
Often called an X-Acto knife (after the popular brand), the hobby knife features a slender, pencil-like handle and a small replaceable blade. Its lightweight design provides excellent control for delicate cutting tasks.
The classic hobby knife most people recognize is a #1 handle fitted with a #11 blade. The #1 refers to the handle size, while the #11 identifies the familiar pointed, triangular blade used for precision cutting.
Hobby knife blades are generally interchangeable across brands. You don't necessarily need to purchase replacement blades from the same manufacturer as your knife. Standard blade numbers make it easier to identify compatible replacements, although it's always worth checking the fit before use.
When to Use a Hobby Knife
Cutting detailed shapes and intricate stencils.
Creating precise openings in paper or lightweight board.
Trimming small components for models and prototypes.
Making fine cuts that would be difficult with scissors.
Tips for Better Cutting
Hold the knife like a pencil. The slender handle allows you to guide the blade with controlled finger movements.
Use light, consistent pressure. Let the sharp edge do the cutting rather than forcing it through the material. For thicker materials, make several shallow passes.
Use a metal straightedge. For straight cuts, a metal ruler provides a durable guide that the blade won't easily cut into. A straightedge with a nonslip backing and finger guard offers additional protection.
Rotate your material, not your wrist. When cutting curves or intricate shapes, reposition the material to maintain a comfortable cutting angle.
Hobby Knife Safety
Always work on an appropriate cutting mat.
Keep your supporting hand outside the blade's path.
Never pull the knife toward your body.
Avoid excessive pressure, which can cause the blade to bend, snap, or slip.
Secure the blade firmly in its handle before cutting.
Replace blades that are dull, chipped, bent, or damaged.
Replace the protective cap immediately after use.
Important: A hobby knife is designed for precision, not brute force. If you find yourself pressing hard to get through a material, you may need a sharper blade or a heavier-duty cutting tool.
Utility Knives: Built for Tougher Jobs
Best for: Cardboard, chipboard, foam board, mat board, packaging, and other relatively thick or rigid materials.
Utility knives feature sturdier handles and more substantial blades than hobby knives. They are designed for cutting materials that require greater pressure or longer, straighter cuts.
Common designs include retractable-blade utility knives and segmented snap-off knives.
When to Use a Utility Knife
Breaking down cardboard boxes.
Cutting chipboard or heavy cardboard.
Trimming foam board and other presentation materials.
Making long, straight cuts through thick materials.
Cutting materials that would damage scissors or overwhelm a hobby knife.
Tips for Better Cutting
Make multiple passes. Rather than trying to cut through thick material in one stroke, make several controlled passes along the same line. This produces cleaner edges and reduces the likelihood of the blade slipping.
Use a straightedge. A heavy metal ruler or cutting guide helps maintain straight cuts. Keep your fingers away from the cutting edge.
Extend only as much blade as necessary. On retractable knives, exposing too much blade reduces stability and increases the risk of breakage.
Support the entire material. A stable cutting surface prevents bending, shifting, and unexpected blade movement.
Utility Knife Safety
Cut away from your body and keep your free hand outside the blade path.
Never hold material in your lap while cutting.
Retract the blade immediately after use.
Inspect the blade and locking mechanism before beginning.
Never force a blade through material that resists cutting.
Use the manufacturer's blade-changing or segment-snapping mechanism, keeping your face and hands clear.
Dispose of used blades in an approved sharps container or a container you have clearly marked for designated blade-disposal, never loose in the trash.
Remember that different utility knives have different capabilities. A snap-off knife with a thin blade may be excellent for cardboard but unsuitable for materials that could cause the blade to twist or break.
Cutting Mats: Protect Your Work, Your Tools, and Your Table
Best for: Providing a stable, blade-friendly surface for hobby knives, utility knives, and other handheld cutting tools.
A cutting mat is an essential studio tool. It protects your work surface from damage while helping preserve the sharpness of your blades.
Many cutting mats are described as self-healing. They are made from layered synthetic materials that allow shallow cuts to close back together, keeping the surface relatively smooth through repeated use.
Why Use a Cutting Mat?
Protect your workspace. A cutting mat prevents knife marks and gouges in tables.
Preserve blade sharpness. Cutting directly against glass, metal, or other hard surfaces can quickly damage a blade's edge.
Improve accuracy. Many mats feature printed grids, angles, and measurement markings.
Provide a consistent surface. A flat, stable mat supports the material and helps prevent unexpected blade movement.
Cutting Mat Care
Keep your mat flat and store it horizontally whenever possible.
Avoid prolonged exposure to heat or direct sunlight, which can cause warping.
Clean away paper fibers, adhesive residue, and other debris.
Avoid repeatedly cutting along exactly the same line, which can create deep grooves.
Replace mats that become deeply scored, warped, or uneven.
A cutting mat is not a substitute for careful technique. It protects the surface underneath your work, but it cannot protect fingers placed in the path of a blade.
Guillotine Cutters: Straight Cuts, Fast Results
Best for: Trimming paper, cardstock, and multiple sheets to consistent dimensions.
A guillotine cutter uses a long, hinged blade that moves past a stationary cutting edge, shearing paper along a straight line. This makes it particularly useful for trimming multiple sheets quickly and accurately.
When to Use a Guillotine Cutter
Trimming printed flyers, handouts, and other paper materials.
Cutting stacks of paper to a consistent size.
Preparing paper for bookmaking or other projects.
Squaring the edges of printed materials.
Making repetitive straight cuts.
Tips for Better Cutting
Measure and align carefully. Use the cutter's grid, ruler, or adjustable paper guide to position your material.
Secure your paper. Use the cutter's clamp or hold-down mechanism, if equipped, to prevent sheets from shifting during the cut.
Respect the cutting capacity. Every cutter has a maximum sheet capacity. Exceeding it can produce ragged edges, damage the machine, or cause the blade to bind.
Use a smooth, controlled motion. Don't slam the blade or force it through a stack that's too thick.
Guillotine Cutter Safety
Guillotine cutters deserve particular attention because their long blades can cause serious injuries.
Keep your hands behind the safety guard and outside the blade's cutting path.
Never reach beneath a raised blade.
Do not bypass or remove safety mechanisms.
Never use a cutter with a loose handle, damaged guard, or malfunctioning blade.
Lower and lock the blade when the cutter is not in use.
Follow the equipment's posted instructions and request training when necessary.
Some professional paper cutters feature powerful clamps and heavy cutting mechanisms. These machines require additional training and should only be operated by authorized users.
Mat Cutters: Professional Presentation Starts with a Clean Bevel
Best for: Cutting mat board for framing, exhibition, and presentation.
Mat cutters are specialized tools designed to create the clean, angled openings commonly seen around framed artwork and photographs.
Unlike a standard utility knife, which typically produces a straight, perpendicular edge, a bevel mat cutter holds its blade at an angle—commonly 45 degrees—to expose a neat, sloping edge around the artwork.
When to Use a Mat Cutter
Preparing artwork for framing.
Cutting window mats for photographs, prints, and drawings.
Creating consistent borders around an image.
Producing professional-looking presentation materials.
Types of Mat Cutters
Handheld bevel cutters are compact tools designed to travel along a suitable straightedge or guide. They are useful for smaller projects but require careful positioning and practice.
Rail-guided mat cutters feature a track that guides the cutting head, helping maintain consistent alignment and pressure. Many also include measuring systems and adjustable stops.
Some systems incorporate both a straight cutter for sizing the outside of the mat and a bevel cutter for creating the window opening.
Tips for Cutting a Professional Mat
1. Measure your artwork. Determine the dimensions of the window opening, allowing the mat to overlap the artwork slightly.
2. Mark the back of the mat board. Most conventional bevel mat cutters are designed to cut from the reverse side.
3. Use a backing sheet. Scrap mat board beneath your work supports the blade and helps prevent ragged cuts.
4. Align the cutting guide. Check your measurements and ensure the mat board cannot shift.
5. Start and stop precisely. Follow the cutter's alignment marks and instructions to avoid overcuts at the corners.
6. Make a controlled cut. Use the pressure and number of passes recommended for your cutter and mat board.
7. Inspect your corners. Clean intersections are essential for a professional finish.
Mat Cutter Safety
Keep your hands clear of the blade's travel path.
Secure the mat board before cutting.
Never attempt to adjust the blade while it is exposed or in motion.
Use the blade depth recommended for your material.
Replace dull or damaged blades promptly.
Follow the manufacturer's instructions when changing blades.
Mat board can be surprisingly abrasive, so blades may need to be replaced frequently to maintain clean bevels.
Why Dull Blades Are Dangerous
It might seem counterintuitive, but a dull cutting tool is often more dangerous to use than a sharp one.
A sharp blade slices through material with relatively little pressure. A dull blade requires more force to accomplish the same task, and that extra force creates several problems.
1. More force means less control. When you have to push or pull harder, it becomes more difficult to maintain precise control of the blade.
2. Dull blades are more likely to slip. Instead of entering the material cleanly, a dull edge may skate across the surface. If the blade suddenly catches or breaks through, your hand may move farther than intended.
3. Excessive pressure increases the risk of injury. When a dull blade finally cuts through resistant material, the force behind it can cause an unexpected movement.
4. Dull blades damage materials. Rather than producing clean cuts, they can tear paper, crush foam board, fray fabric, and leave ragged edges.
5. Dull scissors require more effort. When scissors no longer shear cleanly, users often compensate by squeezing harder or twisting the blades, increasing fatigue and the likelihood of slipping.
A sharp blade can still cause a serious injury, so sharpness is never a substitute for safe handling. The goal is to combine a properly maintained tool with controlled cutting techniques.
When Should You Replace or Sharpen a Blade?
Look for these warning signs:
The tool requires noticeably more pressure than usual.
Paper tears rather than cutting cleanly.
Fabric folds or slips between scissor blades.
Foam board develops ragged or crushed edges.
A knife skips or catches unexpectedly.
The blade has visible chips, bends, or other damage.
Most hobby and utility knife blades are designed to be replaced rather than sharpened. Scissors, on the other hand, can often be professionally sharpened and maintained for years.
Bring your dull scissors to The KCAI Underground for sharpening—just $4 per pair. It's an inexpensive way to extend the life of a useful studio tool.
Cutting Safety: Habits Worth Developing
Regardless of which tool you're using, a few basic habits can dramatically reduce your risk of injury.
Keep Your Hands Out of the Cutting Path
Before making a cut, consider where the blade will travel if it slips or suddenly breaks through the material.
Never position your fingers, hands, or body in that path. Use clamps, nonslip rulers, or other appropriate holding devices when possible.
Always Work on a Stable Surface
A moving cutting surface makes precise work difficult and increases the risk of slipping.
Use a stable table at a comfortable working height. Avoid cutting on your lap, on unstable furniture, or while holding material in the air.
Never Rush a Cut
Most cutting accidents happen when people are distracted, tired, working too quickly, or using excessive force.
Take time to align your material, check your measurements, and choose the appropriate tool before beginning.
Wear Appropriate Protection
Safety glasses can help protect your eyes when cutting rigid materials that may chip, splinter, or send fragments flying.
Cut-resistant gloves may be appropriate for some tasks involving sharp materials, but they are not cut-proof and must never replace proper hand positioning. Loose gloves can also create hazards around moving equipment.
Wear closed-toe shoes in studio environments where sharp tools or heavy materials may fall. Remember the proverb: a falling knife has no handle.
Store and Dispose of Blades Properly
Never leave an exposed knife blade loose on a worktable, in a drawer, or at the bottom of a bag.
Replace protective caps, retract blades, and store cutting tools in designated locations.
Used blades should be placed in an appropriate blade-disposal container. Never throw exposed blades directly into ordinary trash or recycling.
Choosing the Right Cutting Tool
|
Task |
Recommended Tool |
|
Cutting paper shapes and curves |
Scissors |
|
Trimming fabric or thread |
Fabric scissors |
|
Cutting intricate stencils |
hobby knife |
|
Scoring cardstock for folding |
hobby knife |
|
Cutting thick cardboard |
Utility knife |
|
Trimming foam board |
Utility knife |
|
Cutting multiple sheets of paper |
Guillotine cutter |
|
Creating beveled framing windows |
Mat cutter |
|
Sizing the outside of mat board |
Mat cutter with straight-cutting head or utility knife |
|
Cutting long, straight paper edges |
Hobby knife and metal straightedge |
A Final Cut
Learning to use cutting tools properly is a fundamental studio skill. The right tool helps you work more accurately, wastes less material, and makes even complicated projects easier to manage.
Invest in quality tools, maintain them regularly, and replace or sharpen blades before they become difficult to use. Just as importantly, develop safe cutting habits from the beginning. Precision comes from control, not force.
And don't forget that maintaining your tools is often more economical than replacing them. The KCAI Underground sharpens scissors for $4, helping you keep your favorite pair in working condition.
Whether you're cutting out a collage, building a model, preparing prints, or framing your latest masterpiece, stop by The Underground for cutting tools, replacement blades, cutting mats, and advice on choosing the right equipment for your project.
A good cut starts long before the blade touches the material.
Comments
Be the first to comment...